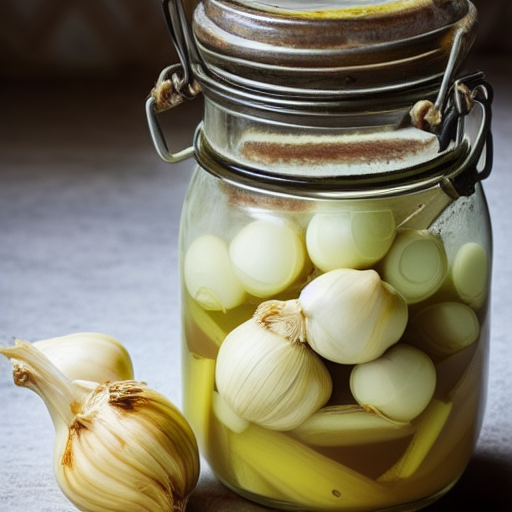
If you’re looking for another delicious and easy way to preserve your garlic bounty, look no further than pickled garlic! This simple recipe is a must-make for any garlic lover. Not only is it incredibly tasty, but it’s also very easy to make. In just a few short steps, you can have jars of delicious brined garlic that will last for months and is ready to use. So why not give it a try?

What exactly is pickled garlic? How is it different from fresh garlic?
Pickled garlic is simply garlic that you preserve in vinegar or another pickling solution (e.g. brine). The pickling process can help to mellow the strong taste of garlic, making it a bit sweeter and less pungent. You can use it in much the same way as you would use fresh garlic. The added bonus of the pickled version is that you can eat it straight out of the jar as a tasty snack! If you’re looking for a unique way to add flavour to your cooking, this is a great option to try.
Reasons to make pickled garlic
- Amongst the reasons to make homemade pickled garlic include it being a cost-effective way to preserve garlic for later use. Garlic prepared this way is great for adding flavour to dishes without using fresh garlic, which can sometimes be too strong.

- Pickling garlic, is easy to make and can be stored and enjoyed for extended periods.
- It is a versatile food ingredient which can be used in a variety of dishes, from salads and soups to pasta and pizza. It can also be added to sandwiches and wraps for an extra zesty kick.
If you’re looking for a way to add more flavour to your cooking, this version of garlic is an easy,reliable option. And with so many benefits, there’s no reason not to try making it at home.
Making Pickled Garlic
The process of pickling the garlic is quite simple. All you need is some garlic, vinegar, water, and salt. You can also add herbs and spices if you want to create a more complex flavour profile.
To start with, you simply combine the garlic, vinegar, water, and salt and briefly heat them together. Then start to add the prepared garlic cloves to the sterilized jar. Next, you pour over the pickling liquid, ensuring that the garlic is completely covered by the liquid. Store the jar in the refrigerator for at least two weeks. After two weeks, the pickled garlic will be ready to use.
The result is garlic that retains a fresh, more subtle and rounded taste and which still maintains all of the characteristic aromatic, flavorful goodness of a freshly harvested garlic bulb.
Then you can just extract the number of pickled cloves that you need, and either rinse them briefly under water ahead of using or if you want to benefit from the bonus vinegar flavour too, just use it as is. You can add it to salads, sandwiches, soups, or any other dish that could use a bit of extra flavour.
TIPS for Pickling Garlic
If you’re a fan of garlic, pickled garlic is a delicious way to enjoy it. The pickling process helps to preserve the garlic’s flavour and nutrition, while also giving it a unique taste.
Choose your garlic wisely.
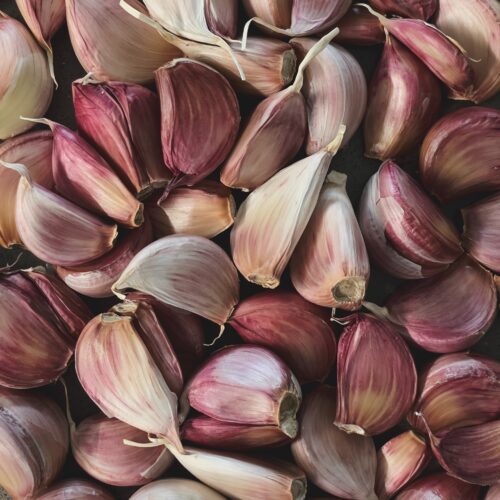
The type of garlic you use will impact the final flavour of your pickled garlic. Certain variants of garlic are stronger and milder than others.
For the best flavour, choose garlic bulbs that are fresh and, ideally, organic.

Make sure that the garlic is not sprouting – this is a clear indicator that it is no longer fresh. The bulbs should be firm, and not soft. And it should smell of fresh garlic only, without any musty notes that could suggest mildew or mould.
Checking these aspects may realise a better outcome.
Pick the right pickling solution for your taste and purposes.
Vinegar and water are the most common pickling solutions. The types of vinegar (red wine vinegar, white wine vinegar, apple cider vinegar, and balsamic vinegar) also bring their distinctive characteristics to the taste and look of the final product.
Add some spice.
When making pickled garlic you can season it further with spices like black peppercorns, bay leaves, dill, spice berries or basil to create a more enhanced, exotic flavour. Experiment to find your favourites.
Be patient.
It takes time for the pickling process to work its magic on the garlic cloves. For best results, let the pickled garlic sit for at least 2 weeks before eating it – the curing time.
Think about how you want to use this garlic. Once you have a goal in mind, it will be easier to choose the right pickling solution and seasoning blend.
Do not panic if the garlic turns blue!
It is still safe to eat and does not mean that it has spoiled. Garlic has amino acids and enzymes that can react with the sulphur compounds (which gives garlic its distinctive smell) and cause this colour change. Apparently, this is not that unusual.
Choose your salt.
Table salt, which contains anti-caking agents, can sometimes cause the pickling liquid to become cloudy. This should not affect the taste, but the end result may just not look as good as it could. Iodine-free salt can help you to avoid this risk.
If you plan to preserve masses of garlic cloves, you may want to consider using multiple smaller jars instead of larger jars – this will limit contamination risk once the jars are open in the refrigerator for extended periods. Available fridge space may however make this decision for you.
Suggestions for Use of Pickled Garlic
You can use the pickled garlic in all the ways you would use fresh garlic and more. It even works well when roasted.
- Add to a salad for a flavorful crunch.
- Use as a condiment with meat or fish dishes.
- Stir into hummus or guacamole.
- Mix with olive oil and vinegar to make a delicious dressing or marinade.
- Add chopped pickled garlic to sandwiches, wraps, or burgers.
- Sprinkle over cooked grains or pasta for extra flavour.
- Enjoy as a tasty snack on its own.
- When you have used up all the pickled garlic in a jar, the leftover pickling liquid is a good foundation for a salad dressing.
Start pickling garlic and extend the enjoyment of this flavorful vegetable! It’s easy to do and only requires a few simple ingredients. This recipe for pickled garlic does not take long to make, and it will last in your fridge for months. It is also an easy and money-saving way to ensure you always have garlic on hand anytime you need it. It is an often overlooked, super simple solution that can help you make the most of those cloves and cut down on potential food waste too.
So, if you’re looking for a way to add some extra flavour to your food and enjoy garlic for longer, pickling is the way to go. Start pickling garlic today!
For more information see RESOURCES and RECIPES.

Pickled Garlic Recipe
Equipment
- 1 Kitchen scales
- 1 Chopping board and knife
- 1 Colander
- 1 Large saucepan
- 1 Spoon for stirring
- 1 Ladle
- 1 Funnel
- Clean, sterilised glass jars with sealable lids
Ingredients
- 300 g garlic cloves
- 200 ml clear vinegar
- 50 ml water
- 50 g sugar
- 0.5 tsp salt
- 1 pinch dried chilli flakes
- 0.25 tsp mustard seeds
- 6 black peppercorns
Instructions
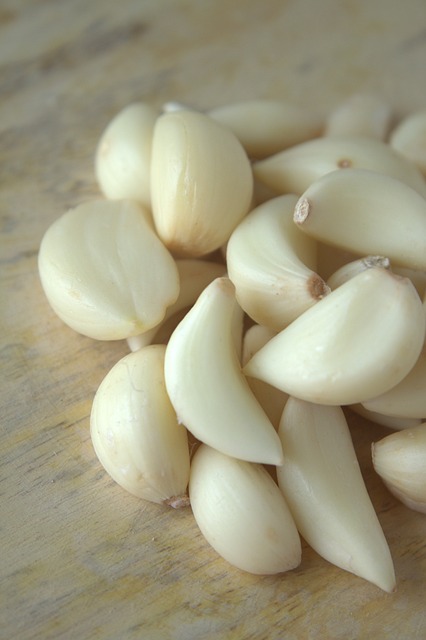
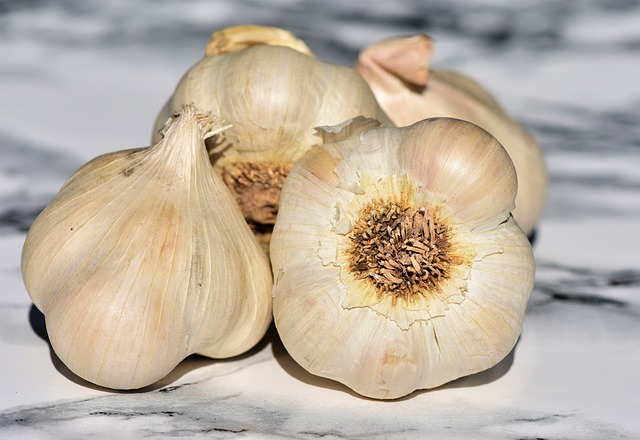
- Break apart the head(s) of garlic into individual cloves.
- Peel the garlic. – SEE GARLIC PEELING TIPS. (I prefer the blanching method).
- Place the peeled cloves in a bowl of water and lightly rub them to remove leftover dirt. Once cleaned, strain, rinse and strain again.
- Use a small knife to remove any brown spots from the cloves, and rinse again as needed.
- In a small saucepan, combine the vinegar, water, sugar, salt and spices. This is the pickling liquid. Heat this over medium heat until boiling for 2 min. Then remove from the heat.
- Add the garlic cloves to the clean jars.
- Ladle the pickling liquid over the garlic cloves in the jars, ensuring that they are all covered with liquid. Make sure that you leave a 1-1.5 cm space(the headspace) at the top of the jars. Wipe and dry the rims of the jars and screw the lids on tightly.
- Tap the jars to stimulate the release of any air bubbles from the liquid.
- Let it cool to room temperature. Store in a jar in the refrigerator. This remains the easiest and most reliable method of storing your pickled garlic.
- Leave to stand for 1-2 weeks making sure that the cloves remain covered with the pickling liquid and allowing the flavour to develop.
- Provided the cloves remain covered with the pickling liquid, they can remain fresh and available to you for 6-12 months.
- Have a row of jarred pickled garlic lined up ready for duty at the back of your refrigerator – you will be surprised at how well this works to support your cooking creations.
Notes
TIPS for Pickling Garlic
If you’re a fan of garlic, pickled garlic is a delicious way to enjoy it. The pickling process helps to preserve the garlic’s flavour and nutrition, while also giving it a unique taste.Choose your garlic wisely.
The type of garlic you use will impact the final flavour of your pickled garlic. Certain variants of garlic are stronger and milder than others. For the best flavour, choose garlic bulbs that are fresh and, ideally, organic. Make sure that the garlic is not sprouting – this is a clear indicator that it is no longer fresh. The bulbs should be firm, and not soft. And it should smell of fresh garlic only, without any musty notes that could suggest mildew or mould. Checking these aspects may realise a better outcome.Pick the right pickling solution for your taste and purposes.
Vinegar and water are the most common pickling solutions. The types of vinegar (red wine vinegar, white wine vinegar, apple cider vinegar, and balsamic vinegar) also bring their distinctive characteristics to the taste and look of the final product.Add some spice.
When making pickled garlic you can season it further with spices like black peppercorns, bay leaves, dill, spice berries or basil to create a more enhanced, exotic flavour. Experiment to find your favourites.Be patient.
It takes time for the pickling process to work its magic on the garlic cloves. For best results, let the pickled garlic sit for at least 2 weeks before eating it – the curing time. Think about how you want to use this garlic. Once you have a goal in mind, it will be easier to choose the right pickling solution and seasoning blend.Do not panic if the garlic turns blue!
It is still safe to eat and does not mean that it has spoiled. Garlic has amino acids and enzymes that can react with the sulphur compounds (which gives garlic its distinctive smell) and cause this colour change. Apparently, this is not that unusual.Choose your salt.
Table salt, which contains anti-caking agents, can sometimes cause the pickling liquid to become cloudy. This should not affect the taste, but the end result may just not look as good as it could. Iodine-free salt can help you to avoid this risk. If you plan to preserve masses of garlic cloves, you may want to consider using multiple smaller jars instead of larger jars – this will limit contamination risk once the jars are open in the refrigerator for extended periods. Available fridge space may however make this decision for you.Suggestions for Use of Pickle
You can use the pickled garlic in all the ways you would use fresh garlic and more. It even works well when roasted.-
- Add to a salad for a flavourful crunch.
-
- Use as a condiment with meat or fish dishes.
-
- Stir into hummus or guacamole.
-
- Mix with olive oil and vinegar to make a delicious dressing or marinade.
-
- Add chopped pickled garlic to sandwiches, wraps, or burgers.
-
- Sprinkle over cooked grains or pasta for extra flavour.
-
- Enjoy as a tasty snack on its own.
-
- When you have used up all the pickled garlic in a jar, the leftover pickling liquid is a good foundation for a salad dressing.
Nutrition
Nutritional Disclaimer
All nutritional information is an estimate only, based on third-party calculations derived from an online nutritional calculator, Spoonacular API. The data provided is a courtesy and should not be considered a guarantee or fact. Each recipe and nutritional value will vary depending on the ingredients and brands you use, your measuring methods and portion sizes. For accurate results, we recommend that you calculate the nutritional information yourself, using a preferred nutritional calculator or advice from a nutritionist, based on your ingredients and individual processes.