If you’re like most people, you probably think of jam as something that’s shop-bought. But did you know that it’s really easy making jam at home? With just a few simple tips, you can be on your way to making delicious, homemade preserves in no time. So if you’re looking for a fun and rewarding project to do in your spare time, why not give it a try? Deliciousness awaits!
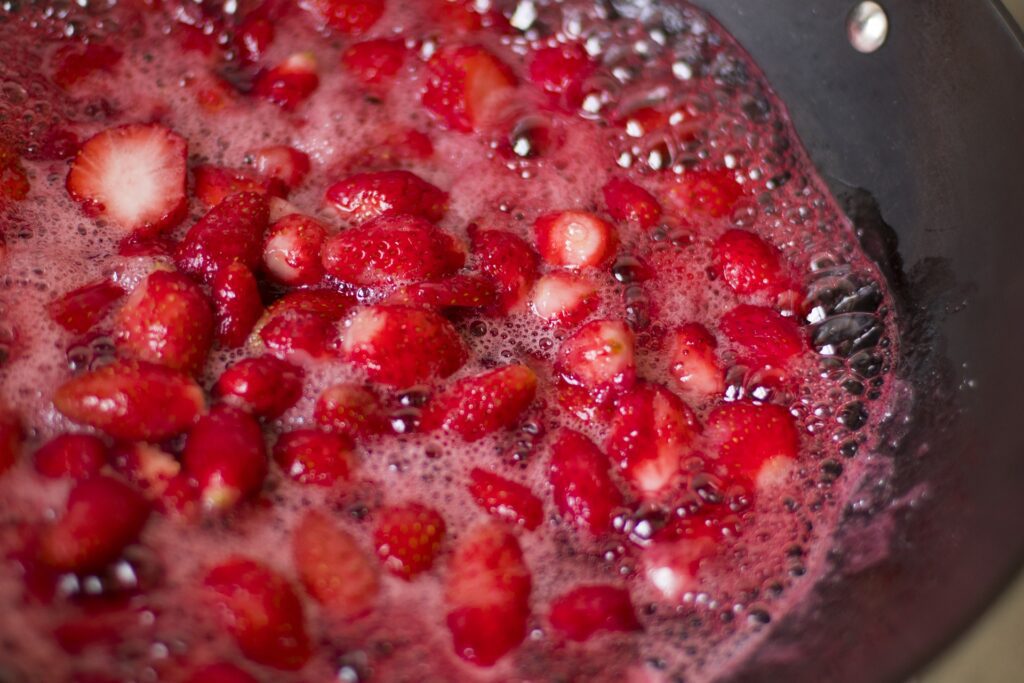
The Recipe for Making Jam
There is a wide selection of recipes to guide you to making your favourite sweet preserves. If you are a beginner or the type of fruit or method is new to you, I recommend that you follow the recipe closely the first time round. Then next time you can consider adjustments or flavour combinations you would like to try.
Your choices include the type of fruit or the type of jam you want to make, and also extend to accommodate specific methods of making too. This encourages you to explore or stick to a method that is familiar to you, or more convenient at the time.
Washing the fruit ahead of making jam
Prepare the fresh fruit ahead of cooking. Remove any damaged or rotting fruits as this will compromise the life of the jam by contamination.
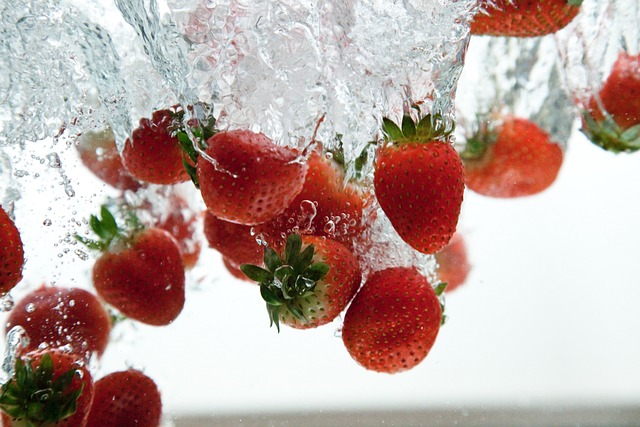

Wash the fruits in a bowl of water with a pinch of bicarbonate of soda and squirt of vinegar. Leave it to stand for a few minutes. This helps to remove traces of pesticides and any insect hitch-hikers that have come along for the ride.
Lightly swirl the fruits in the water, then drain. Rinse again with clean water, and leave to drain off the excess water.
Chopping the fruit for making jam
When making strawberry preserves use the off-cut strawberry tops to make a bonus fruit strawberry tops vinegar.
Chop the fruit up into as big or small pieces depending on the consistency that you prefer.
If you prefer a smooth preserve, then blend the fruit ahead of mixing it with the sugar.
If you prefer a seedless strawberry preserve for example, then pass the blended fruit mixture through a fine sieve/strainer ahead of mixing with sugar.
Frozen fruits for making jam
Yes, you can use frozen fruit to make sweet preserves. You need to be sure that these are fruits are not sugared.
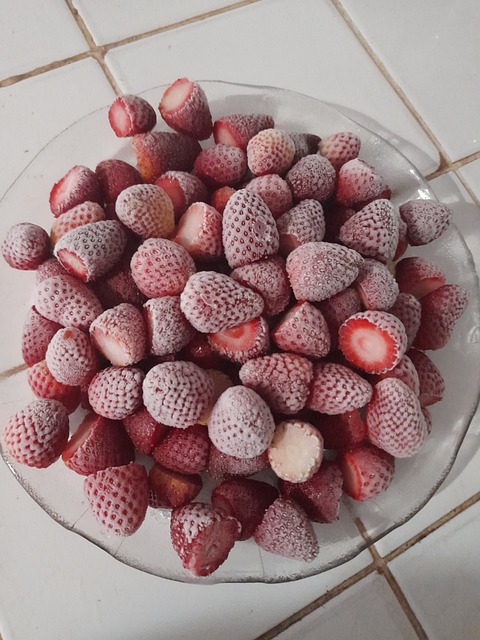

Substitute an equal amount of frozen for fresh fruit and just a bit extra.
Allow it to thaw till room temperature. Keep the fruits with the thawing liquid and continue with the recipe steps as outlined. The cooking time to thickening is likely to be longer as the frozen fruits will contribute more water to the mixture.
Using a lemon when making jam
The lemon has a flavour and pectin-providing role.
You can use either bottled lemon juice or a fresh lemon – a fresh lemon has more pectin and you can also add the 2 left-over lemon halves to the cooking mixture for added lemon flavour. The lemon halves should be removed once the setting point has been achieved, and before ladling it into jars.
Preserving Pan/Saucepan
Make sure that the saucepan is big enough as the mixture will bubble up when heated; also a bigger surface area reduces the time to thickening.
Scum
Don’t worry too much about the appearance of foam or scum during the cooking process.
While you can remove this by skimming it from the surface of the mixture with a spoon into a bowl if you just let the mixture continue to boil to the point of testing you are likely to find that this has disappeared on its own.
Some cooks advocate adding a small knob of butter to assist the scum in ‘disappearing’.
Cooking and Setting the Jam
Boil until the jam appears thickened – 10-20 minutes. If this is not enough, boil for another couple of minutes and recheck the thickness. Check the set point.
If needed, an additional 2 tablespoons of lemon juice can assist with realising the set point.
Potting up sweet homemade preserves
It is essential to use freshly cleaned, sterilised glass jars, with clean sealable lids.
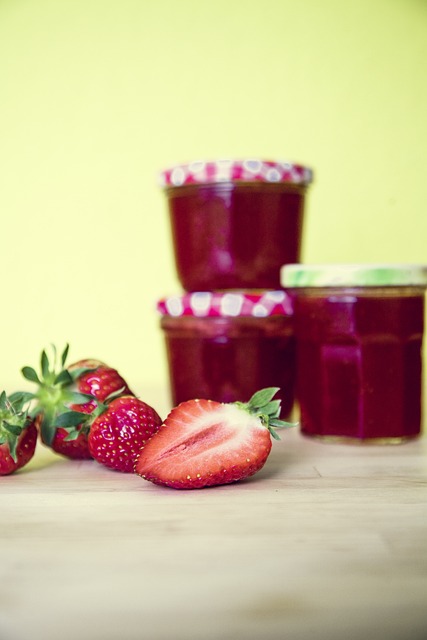

Use a ladle and jam funnel to facilitate adding the jam to the jars easily and with limited mess.
Clean the rims of the jars carefully with a piece of damp kitchen paper towel or a clean damp cloth before closing the lids.
Cooling
After sealing the jars, let them stand to cool completely. The store is in a dark, cool place.
Check that the lids of the jars have dipped inwards to demonstrate the seal. If this has not happened, the jam might still be ok, but if in doubt, keep this jar in the fridge for use over the next 2 weeks.
Use a clean damp cloth to wipe any possible spills and stickiness off the jars ahead of storing.
Freezer Jam
When ladling into jars, make sure to leave a space of about 1-1.5cm (headspace) between the jam and the lip of the jar as the jam will expand when frozen.
You should know that freezer jam is a softer set jam than your usual experience of sweet preserves. If you want to enjoy some as soon as you can leave it for 24-48 hours in the fridge for a firmer consistency.
Remember that this is about extending enjoyment and not winning a competition – even if the jam turns out a bit thin it will still taste wonderful – just use a spoon to deliver it to your buttered bread!
As the shelf-life of the jam once in the fridge (not the freezer) is 1-2 weeks, consider this when choosing the size of jam jars for storage as this will determine how much you take out of the freezer and thaw at any one-time for use in this period.
Labelling the jars
Make sure that you add a label to the jam to identify what it is (list key ingredients and additions). Also include the date when the jam was made for future reference.
It is your choice whether to use plain labels or pretty personalised labels, handwritten or typed.
Spooning out the jam
Only use clean spoons or knives when using the jam to limit contamination of the remaining jam. Keep the jam sealed in the fridge.
Personalising
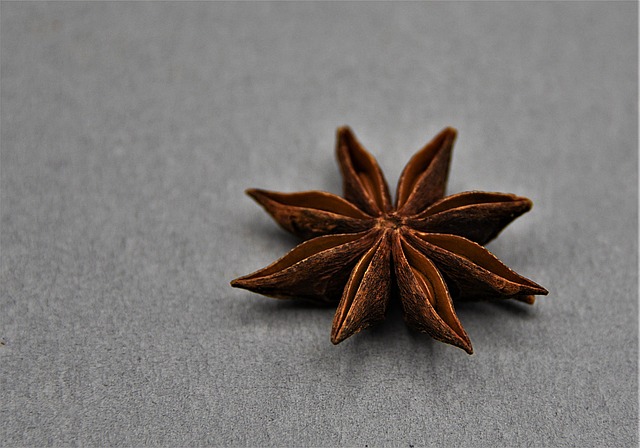

Unleash your creativity and customize your jam. Herbs like mint and basil are great; then there are spices like cinnamon, star anise and even black pepper. The limts really are only your imagination and sense of adventure! Vanilla easily elevates a jam to a dream jam experience.
Adding alcohol can also be fun – this is for the flavour as the alcohol will largely evaporate from the hot jam, even when added towards the end.
With all of these potential additions, do not overdo things – you don’t want to overpower the flavour of the fruits, which remains the star of jam.
Enjoying
This is such a sublime experience – when you just cannot resist having a taste as soon as it’s cooled. Then there is the moment when you open a jar of the jam in mid-winter and instantly get transported back to the joy of the past summer.
You can enjoy it as a spread on its own or accompanied by peanut butter. Use on scones and to sandwich cakes, stir through yoghurt or add to a shake/smoothie. Then there is the option of diluting it with a bit of water and warming it in the microwave to drizzle over ice cream or other desserts, add to a glass and top up with sparkling water or into your cocktail for a fruity kick.
Jam can also play a role in savoury dishes. Jam can add something extra when added to a marinade or glaze for roast meats, or when diluted and used as an ingredient to a vinaigrette.
Sharing
There is just something special about giving (and receiving!) a tasty homemade gift. You can do this for any special occasion, or just because it’s good to share.
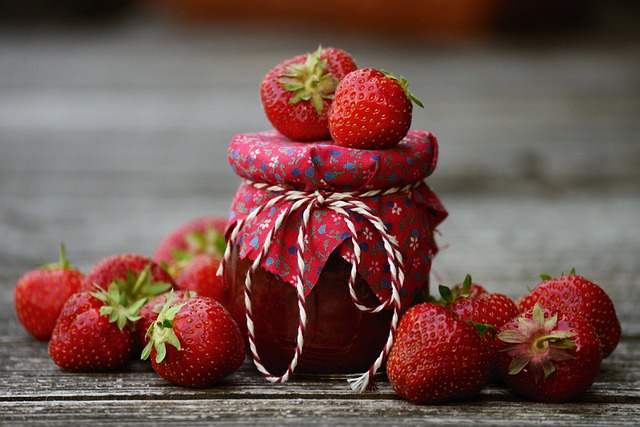

Present the jam wrapped in colourful paper, with ribbon or in a little covered box or a basket to make the presentation extra special.
A recipe card or some suggestions on how the gift recipient may consider using the jam can be included as a bonus.
Don’t be surprised when you get asked about making some more!
You may use these tips to ‘set the scene for your preserving adventures – have a fun and tasty time!