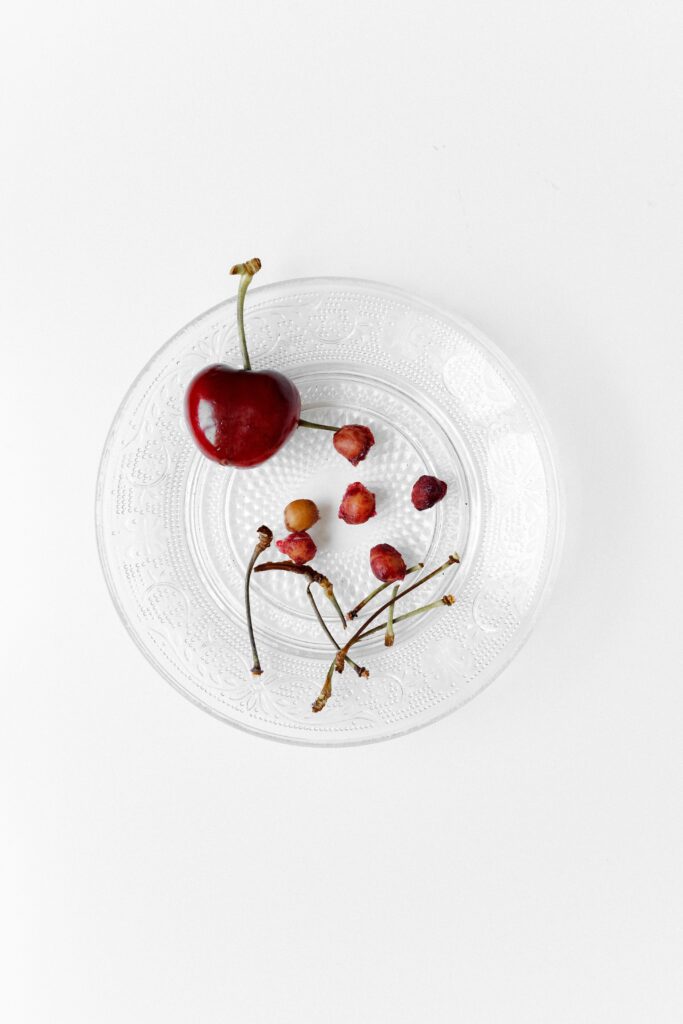
Do you know the best way to remove a cherry stone? If not, don’t worry – many people don’t. Read on to learn more about your options, your introduction to a cherry pitter and its variants. As well as some tips on how to make the process easier.

Simplifying the process of removing cherry stones can make your favourite cherry creations infinitely easier to prepare, and safer too. Once you’ve tried it you’ll never want to go back!
Ways to Remove Cherry Stones
Removing the cherry pit by hand
You can remove the stones by hand using a technique called ‘de-pitting’.
To de-pit cherries, simply cut around the circumference of the cherry with a sharp knife and twist the two halves apart. The stone will usually stay attached to one-half of the cherry, making it easy to remove with a small spoon.
With a little practice, you can de-pit a cherry in just a few seconds. You must also make sure to be careful with how you are using both the knife and the spoon. Believe me, the slip of a small spoon can set the stone soaring across the kitchen or into your eye!
This processcan easily become a tedious task, resulting in hand cramps. And there are different ways to make it easier and safer.
Using a Cherry Pitter
If you’ve ever tried to remove the pit from a cherry by hand as above, then you know how difficult and time-consuming it can be. A cherry pitter is simply a handy tool that is used to remove the pits from cherries.
While there are different types of cherry pitters, they all work in basically the same way. The cherry is placed in the pitter, and the pit is removed with a downward push, whether this is done manually or mechanically.
Some cherry pitters also remove the stem from the cherry at the same time, and some even have a little cup or box that catches the stones while depositing the de-stoned cherries into your bowl.
So, if you enjoy eating fresh cherries, and baking or preserving them, then cherry pitters are an essential tool. I am still so glad to have found a simple metal one in a French supermarket at the time when I was gathering everything I needed to make my first cherry jam. I make cherry preserves every year, and even though another cherry stone remover has moved in, I still take my original one out for its annual round of destoning while remembering those early days…
Types of Cherry Pitters
Cherry pitters come in two main types: manual and electric.
- Manual cherry pitters are small handheld devices that use a lever to push the cherry pit out through a small hole. There are also now manual cherry pitters that sit on the countertop and you ‘punch’ a lever to de-stone the cherry in the holder.
- Electric cherry pitters are larger pieces of equipment that sit on the countertop and use a motor and disc to remove the cherry pit. Understandably, these are used for large batches of cherries, and in even grander scales commercially.
1. Handheld cherry pitter
Advantages:
- These devices are economical as well as portable, given that they are small and light.
- They are easy to use and, with a bit of skill, can be used to remove the stems from cherries as well.
So, an inexpensive little tool that will make the whole process a lot easier.
Limitations:
- Hand-operated cherry pitters can be messy, as cherry juice tends to squirt out when the pit is removed.
- Additionally, cherry pits can sometimes get stuck in the pitter.
- They do tend to work better on cherries that have the stem already removed. So it adds another step to the process.
- While they can be used for other fruits like olives, it is a lot less successful.
- It also gives your hand quite a workout so be careful if you have arthritis or RSI.
2. Countertop ‘punch’ de-stoner
Advantages:
- Load up a handful of cherries and punch away on the lever to easily remove the pits.
- The cherries get deposited in your bowl underneath a small chute, and the stones land in the holder bin.
- It’s fairly easy to clean, and less messy overall.
Limitations:
- This tool can be a ‘hit-and-miss’ for some cherries – the stone is not removed and so you have to check through all the ‘de-stoned’ cherries in the bowl for this afterwards and remove them by hand anyway. This can be frustrating and can undermine the relative ease the tool initially promised.
- Success can also vary with the size of the cherry and how hard or soft it is.
- Sometimes the cherry stones get stuck in the chute and are difficult to move on.
3. Electric Cherry Pitter
Advantages:
- Electric cherry pitters, also known as de-stoners, are faster and easier to use since all you have to do is plug it in, load up the washed cherries, push a button and the machine does the work for you.
Limitations:
- They are expensive but can be worth the investment if you are going to process larger amounts of fruits, regularly.
- Given their size and complexity, they are more challenging to clean and store.
Not only for cherries…
Despite being called ‘cherry pitters’ these tools can, at least in theory, be used for other de-stoning tasks, such as with olives or plums – with different variations of de-stoning equipment being more or less successful relative to the different fruits.
Ultimately, the type of cherry pitter you choose depends on your needs and budget.
The bottom line message is that removing the stones from cherries doesn’t have to be a difficult or time-consuming task. So, now you know what a cherry pitter or cherry de-stoner is you can enjoy your cherry preserves even more!