Making jellies and jams can be a fun and rewarding experience. But it’s important to be aware that everyone makes mistakes when they’re first starting out. And even when they have been making preserves for some time. And jam making problems are one of the top issues when undertaking this journey.
Like all creative adventures, you need to give up on any tendency to perfectionism. Be flexible, accepting from the outset that learning to make jam can be a process of trial and error. And so sometimes things work and sometimes they don’t. If you have cooked anything you already know this to be true.
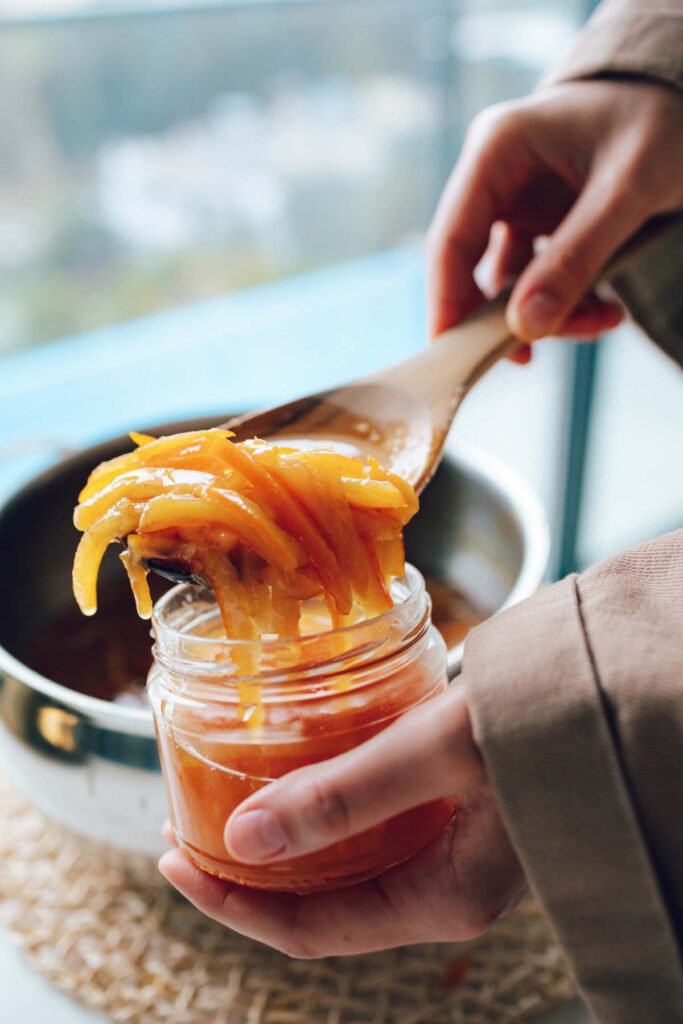
There are so many variables that come together when you make your jam. From the obvious like ingredients, recipe complexity, and experimentation factors. To the equipment used, the amount of time you have available, how you are feeling, how hot or cold the day is, and many more. So sometimes things go awry, welcome to the club! And it’s not a reason to stop jamming!
Here are some of the most common jam-making problems, as well as a few remedies to help you manage them.
My jam won’t set/is runny/too firm
Jam that doesn’t set properly is probably the most common jam-making problem encountered by home cooks when making homemade sweet preserves.
There are many potential causes of this. These include using fruit that is not ripe enough, not using enough pectin or sugar, or not cooking the mixture for long enough. Other factors such as altitude, humidity, and temperature can also affect how the jam sets and maintains its consistency.

While this issue can be frustrating, it can sometimes be fixed. At other times the best remedy is simply finding other ways to use and enjoy the jam anyway. Like stirring it into yoghurt or using it in drinks or baking.
By experimenting with different ingredients and techniques, you can learn to create delicious homemade preserves that are satisfactorily set every time.
Underestimating the Effects of Sugar
This jam making problem can have a significant impact on the outcome of your jam/jelly.
Using too little sugar can result in a softer texture and a less sweet flavour. And using too much sugar can make the preserve overly sweet and potentially cause it to crystallize.
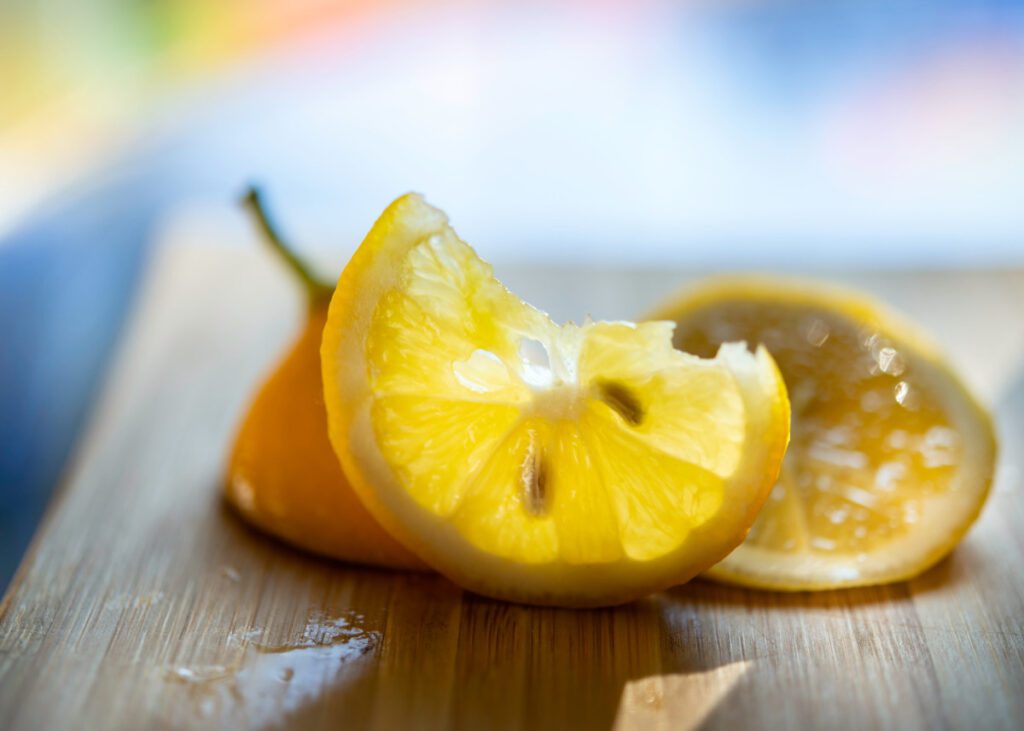
If you find yourself with a batch of jam or jelly that is too sweet, there are several remedies you can try. One option is to add a small amount of acid, such as lemon juice, to balance out the sweetness.
Another option is to dilute the mixture by adding more fruit or liquid.
Similarly, fixes when less sugar is used can include using different sweeteners. And then adjusting how the preserve is stored to accommodate this change.
However, it’s important to note that these solutions may only be effective up to a certain point. Sometimes the best course of action is to simply accept the outcome and find creative ways to use and enjoy the preserve.
Learning from the experience can help you create better batches in the future. By being mindful of the role of sugar in your jam or jelly recipe and experimenting with different proportions and techniques, you can create delicious homemade preserves that are perfectly balanced and suited to your tastes.
Uncertain use of lemon juice or pectin
Underestimating the role of lemon juice or pectin in a jam or jelly recipe results in a jam making problem that can have a significant impact on the resulting preserve. Leaving out lemon juice (or another acid) can result in a less firm set. The acid helps the pectin in the fruit to gel. On the other hand, leaving out pectin can result in a runny or soupy texture, with the preserves failing to set properly.
If you find yourself with a batch of jam or jelly that is too soft due to the lack of lemon juice, you may be able to salvage it by adding more acid and re-cooking the mixture to help it set better. However, there are limitations to this remedy, as too much acid can also negatively affect the flavour of the preserve.
Where the jam or jelly is too runny due to a lack of pectin, you may need to start from scratch and add additional pectin to the recipe.
It’s important to note that not all homemade preserves can be rescued. Then you can challenge yourself to find creative ways to use the preserve. And try again.
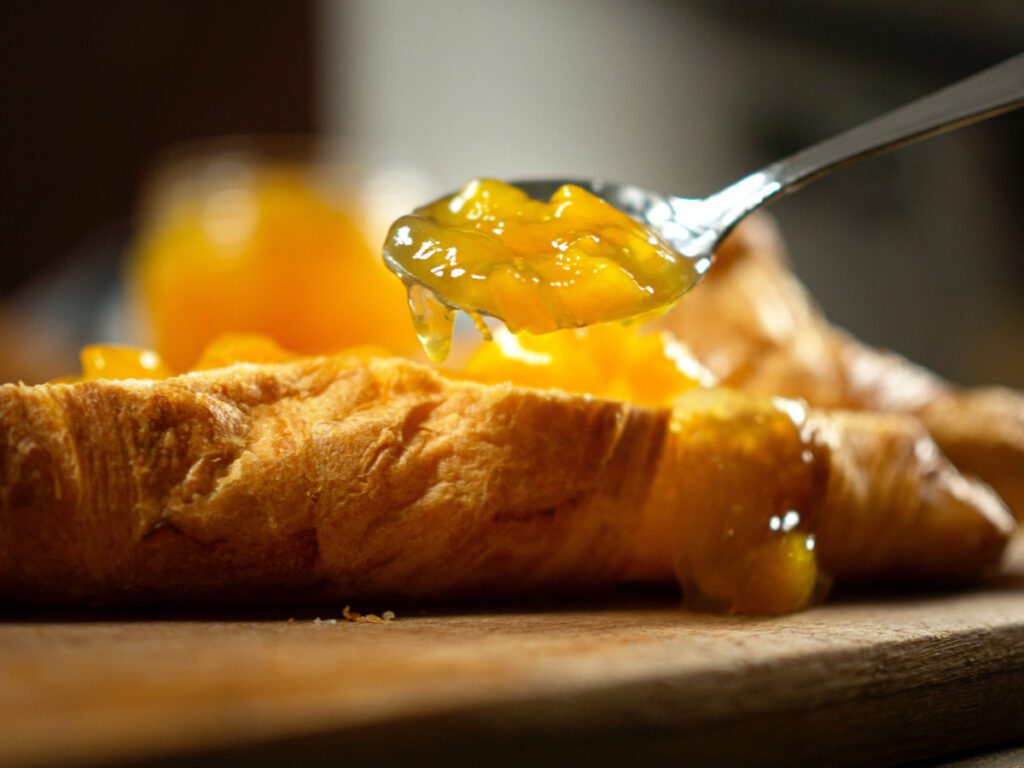
One key approach to making delicious homemade preserves is to follow the recipe carefully.
Pay attention to the proportions and ingredients listed.
Don’t underestimate the role of lemon juice or pectin. They play a crucial role in helping the preserves to set properly and achieve the desired texture.
By being mindful of these factors, you can create delicious homemade jams and jellies that are set and bursting with flavour.
It just doesn’t look right
Making homemade jam or jelly can be a fun and rewarding experience, but it’s not without its challenges. Several issues can affect the look of your final product. This jam making problem can present in many different ways. These include cloudy jelly or jam, fruit floating to the top, bubbles in the mixture, white pieces appearing in the preserve, or the preserve being darker than expected.
Cloudy jelly or jam
This jam-making problem be caused by using overripe fruit, over-boiling the mixture or squeezing the jelly-bag when draining so some pulp gets into the mixture. To remedy this, try using fresher fruit, avoid over-cooking the mixture and resist the temptation to squeeze the bag to get everything you can from it!
Fruit floating to the top
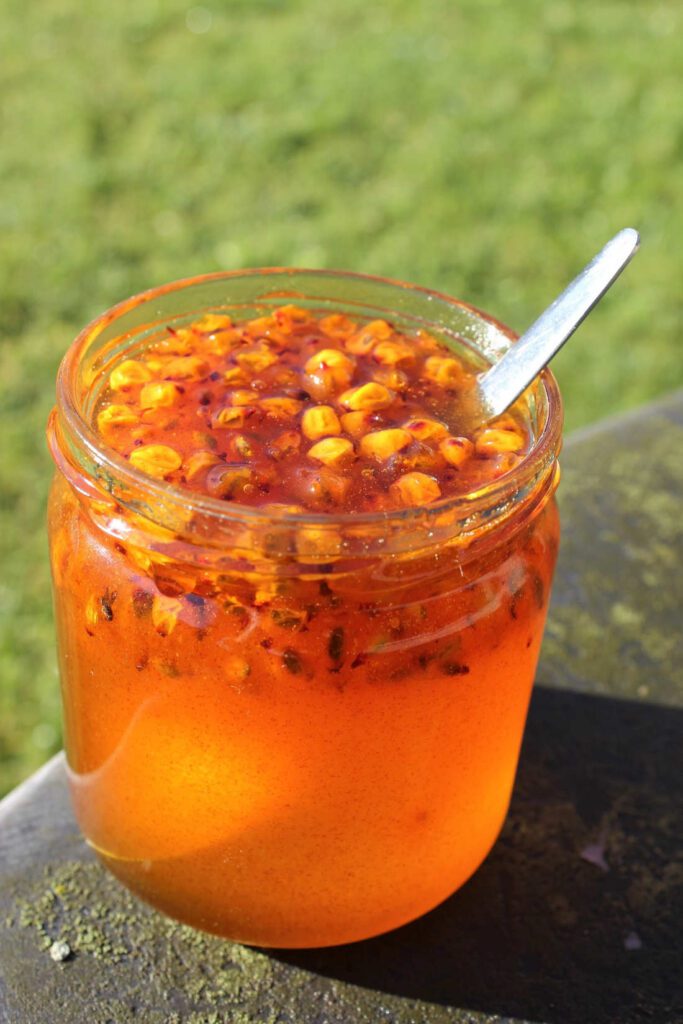
A common cause is the density differences between the fruit and liquid components of the recipe.
Stirring the mixture frequently during the cooking process can help keep the fruit evenly distributed throughout the preserve.
Also, letting the jam stand for a few minutes ahead of ladling it into jars can limit this jam-making problem from happening.
Bubbles in the jam or jelly
Bubble jam-making problems can be caused by over-stirring the mixture and incorporating too much air. To reduce the number of bubbles in your preserves, try stirring gently especially once the mixture begins to boil. If you notice bubbles after ladling the jam/jelly into the jars, you can use a bubble remover to get rid of some of them.
White pieces in the jelly or jam
A few potential causes of these as jam making problems include using under ripe fruit, pieces of white citrus pith, sugar crystals or in the worst cases, the start of mould. It’s best to first exclude mould as the cause.
Once excluded, the preserve can still be used. Then you can plan to prevent this outcome when you make your next batch.
The jam or jelly turns out darker than expected
Well, these jam making problems could be due to using a darker variety of fruit, overcooking the mixture, or the preserve having aged. While there may be limited remedies for this issue, you can experiment with different fruits and cooking techniques to achieve your desired colour.
While these issues can be frustrating, they are all part of the learning process of making homemade preserves. With time and practice, you can master the art of preserving. And continue creating beautiful, delicious jams and jellies that are perfectly suited to your tastes.
One common issue is not stirring the mixture enough or not cooking it for long enough. This can result in a runny or undercooked preserve.
Not stirring frequently enough can cause fruit to settle at the bottom of the pot. And not cooking long enough can leave the preserve too thin and liquid.
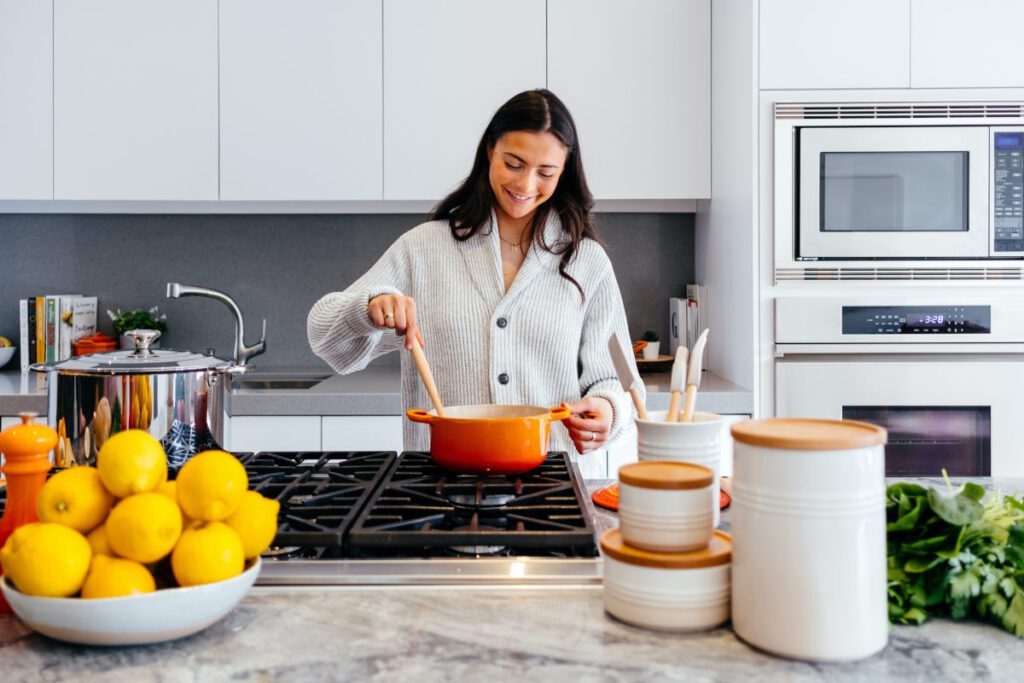
To remedy these jam making problems, it’s important to stir the mixture frequently throughout the cooking process. This action will limit sticking and encourage the ingredients to blend effectively.
If you find that your preserve is too runny, try re-cooking the mixture for a bit longer, in 5-10 minute sessions, to allow it to thicken and set properly. Alternatively, you can add additional pectin to the recipe or use a thickening agent such as cornstarch, chia seeds or agar.
If you find that your preserve is overcooked and too thick, try adding a small amount of liquid to thin it out. However, it’s important to note that there may be limitations to rescuing an overcooked preserve, and sometimes the best course of action is to accept the outcome and find creative ways to use it.
By anticipating these mishaps and taking steps to prevent them, you can create delicious homemade jams and jellies that are perfectly set and burst with flavour. Don’t let a less-than-perfect batch discourage you from continuing to experiment and hone your skills. With practice and patience, you can become a master at making beautiful, delicious preserves.
Dramatic jam making problems
Making homemade jams and jellies can be fun and satisfying, but some dramatic and disappointing issues can arise. One such issue is the mixture boiling over, which can make a huge mess and potentially ruin your cookware. This can occur if the heat is too high, the pan is too shallow or the pot is overfilled.
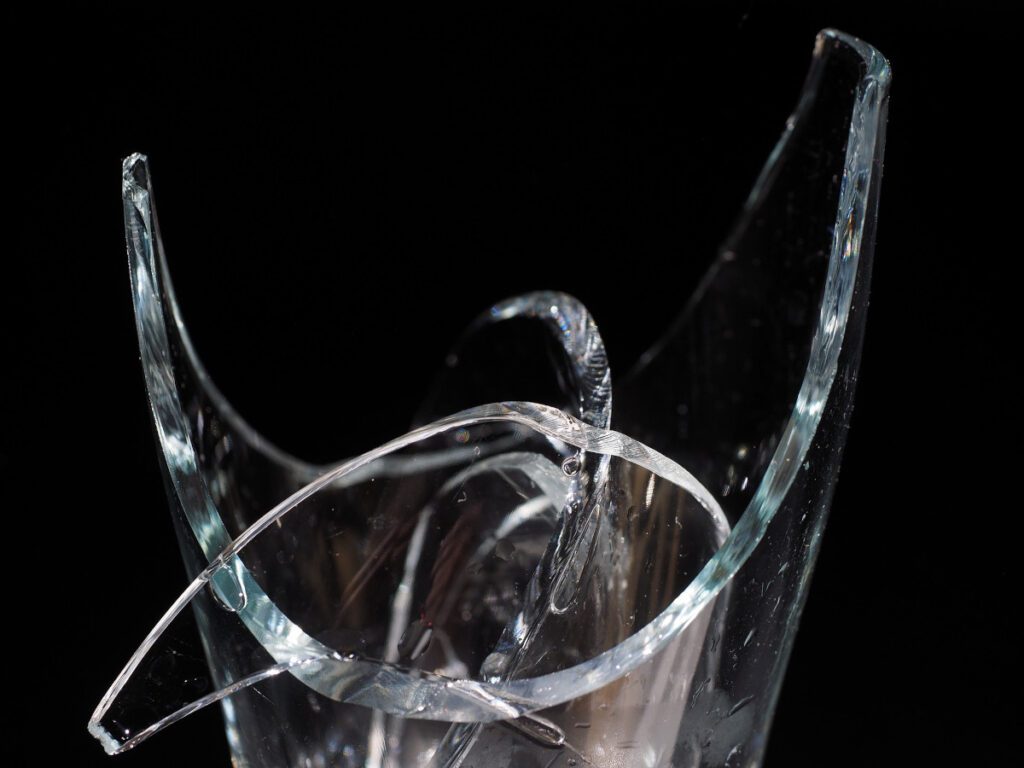
Another ‘shocking’ jam making problem that can happen is glass jar cracking, most often caused by rapid temperature changes or previously unnoticed damage to the jar. This can result in the loss of your precious preserves and potential injury if the glass shards fly out.
Finally, a big disappointment can be finding that your preserve has gone mouldy or spoiled. This can happen if the jars were not properly sterilized before filling or if the preserve was not sealed properly during the making process.
To deal with these issues, it’s important to take preventative measures wherever possible.
- Be sure to use a large enough pot to prevent boil-overs, and keep the heat at a moderate level.
- To prevent glass jars from cracking, make sure that they are warmed ahead of ladling in your jam/jelly. Also, allow them to cool down gradually, and completely, at room temperature.
- If your preserve has gone mouldy or spoiled, unfortunately, there is no way to salvage it. You have to discard it. To avoid this issue happening again, be sure to sterilize your jars properly before filling them and follow food hygiene practices.
By being mindful of these potential issues and taking preventative measures where possible, you can create beautiful, delicious homemade jams and jellies without the risk of disappointment or danger. Remember, practice makes perfect, and each batch is an opportunity to learn and improve your skills.
Disappointing Taste, nooooo!!

Making homemade jams and jellies can be a pleasing experience, but sometimes the taste and texture don’t quite turn out as expected. A common jam making problem is the jam or jelly tasting bitter, sour, or bland. This can be caused by using under ripe or overripe fruit, not adding enough sugar or acid, or using too much pectin.
Another issue is the jam or jelly turning out grainy. This may be caused by using too much pectin or not dissolving the sugar properly. This can result in a less-than-pleasant texture that takes away from the overall enjoyment of the preserve.
To salvage a preserve that is too bitter or sour, you can try adding more sugar or acid to balance out the flavours. If the preserve is too bland, try adding more fruit or spices to boost the flavour.
If the preserve is grainy, unfortunately, there may be little that can be done to rescue it. In this case, it’s best to accept the outcome and learn from the experience for next time.
To avoid these issues, it’s important to follow the recipe carefully, paying attention to the proportions and ingredients listed. Choose ripe, high-quality fruit and be sure to dissolve the sugar properly to avoid graininess. By experimenting with different fruits and techniques, you can create delicious homemade preserves with the perfect taste and texture every time.
General TIPS to reduce jam making problems
Preparation:
- Choose the best ingredients that you can.
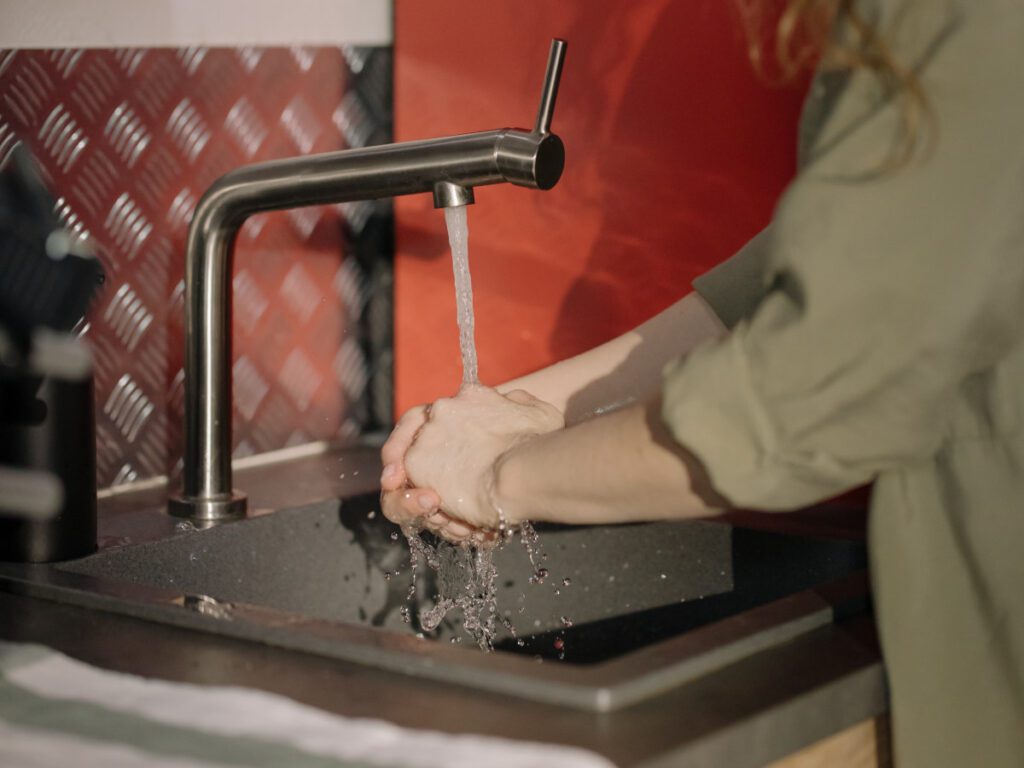
- Maintain good food hygiene habits and wash your hands, equipment and fresh ingredients. Discard, or cut out damaged or bruised produce.
- Sterilize jars, bottles and lids.
Cooking:
- Actively limit risks of burning yourself by using a long-handled spoon and a deep enough preserving pan. Also have oven gloves, splatter screen, jam funnel, etc readily available as protection.
- Make sure to stir ingredients to help them distribute throughout the mixture and to prevent burning. Sugar can benefit from being stirred until dissolved.
- Actively manage the heat so limit under- or overcooking as well as the risk of the preserve boiling over.
Storing:
- Make sure that glass jars are warmed ahead of being filled. And then allowed to cool down gradually at room temperature.
- Seal, and appropriately store preserves to extend their shelf-life and to limit spoilage. Make sure that labels include helpful information including the date, what it is, and any ingredients that may be allergenic.
- Discard any spoiled preserves, even if you just suspect this! Similarly, discard preserves where the jars have been cracked or seals compromised.
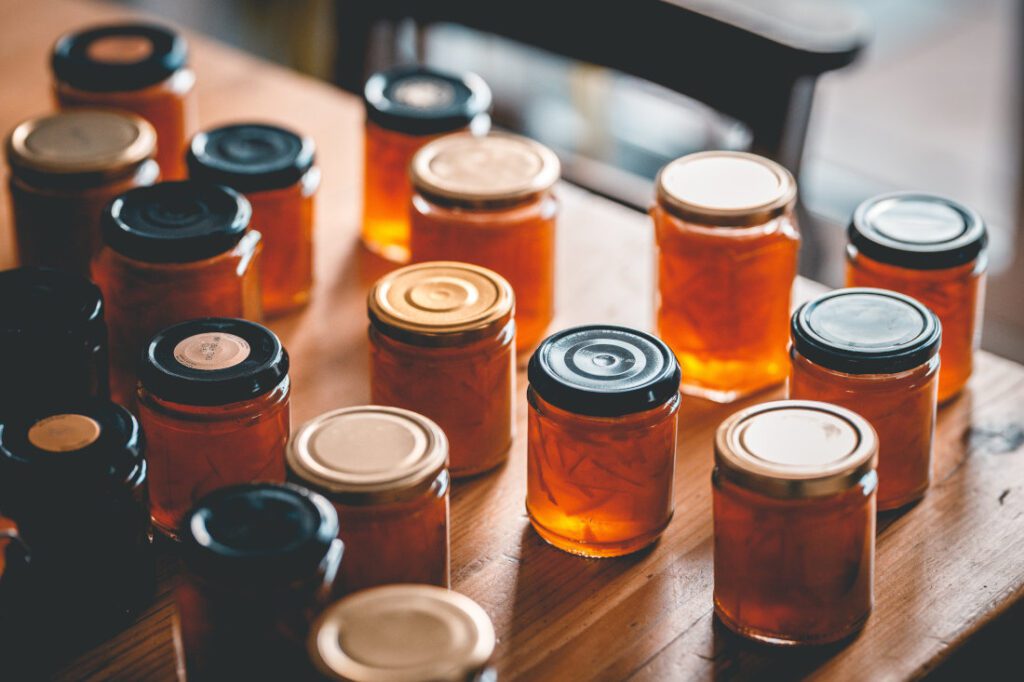
In conclusion, making homemade sweet preserves like jams and jellies can be a truly rewarding experience, despite the potential mishaps and challenges along the way. Embrace these obstacles as part of the learning process, and remember that with each batch, you’re gaining valuable knowledge and honing your skills.
Don’t let setbacks deter you from continuing to experiment and persevere in your pursuit of creating the perfect preserve. As you refine your techniques and discover your personal preferences, you’ll be able to create unique, delicious preserves that simply can’t be found on store shelves.
The satisfaction of creating something from scratch is unparalleled, and the joy of sharing your homemade creations with friends and family is priceless. So, keep trying, learning, and enjoying the process of making jams and jellies. With time, patience, and practice, you’ll master the art of preserving and delight in the fruits of your labour. Happy preserving!