In the fascinating world of homemade jams and jellies, the sweet aroma of simmering fruits and sugar can fill your kitchen. But this is also where mishaps and challenges are part of the journey. Hiccups, like those due to stirring and cooking jam, are common and can happen to anyone who dares to make their own.
Sometimes there’s a clear cause for the issue. Other times, it might be a mysterious combination of variables that come together to create an unexpected outcome.

The good news is that many of these mishaps can be remedied or partially solved. And you may be able to salvage your creation or find alternative ways to use it. However, in some cases, you may need to discard the jam or jelly and chalk it up to experience. Learning and experimenting are integral parts of the process.
One of the key challenges in achieving the perfect set and texture is to get the stirring and cooking jam processes just right.
Too little stirring or cooking can result in a runny and loose jam. While too much can lead to a stiff and overly jelled product. Read on to explore the possible effects of these processes as well as tips about managing them to realise a satisfying result.
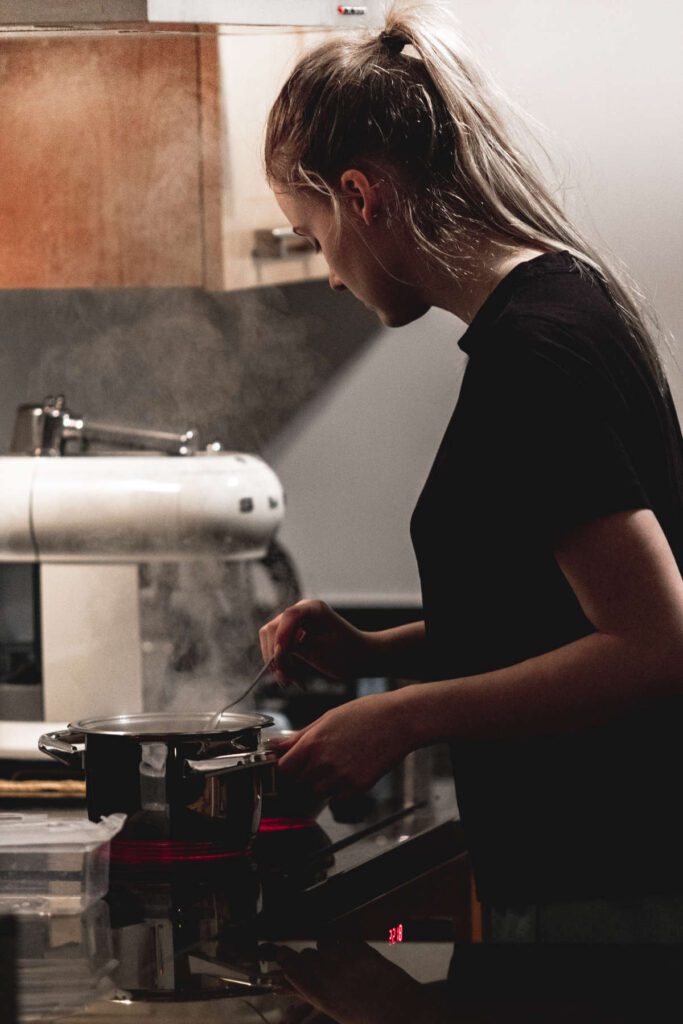
Not stirring the jam enough
Problem
- This can lead to a jam/jelly that is runny or doesn’t set properly. In this case, it can be because the ingredients (including those that carry the pectin) have not been mixed thoroughly.
- Not stirring enough can also increase the chances of the jam scorching/burning to the bottom of the saucepan. Take it from me, this can make your heart sink, when you are yearning for your favourite jam to enjoy.
- Poor distribution and blending of the ingredients with impact on flavour and/or texture of the finished product. Sugar may not dissolve completely and leave a grainy effect. Or some portions may have a stronger flavour whereas others hardly any.
Remedy

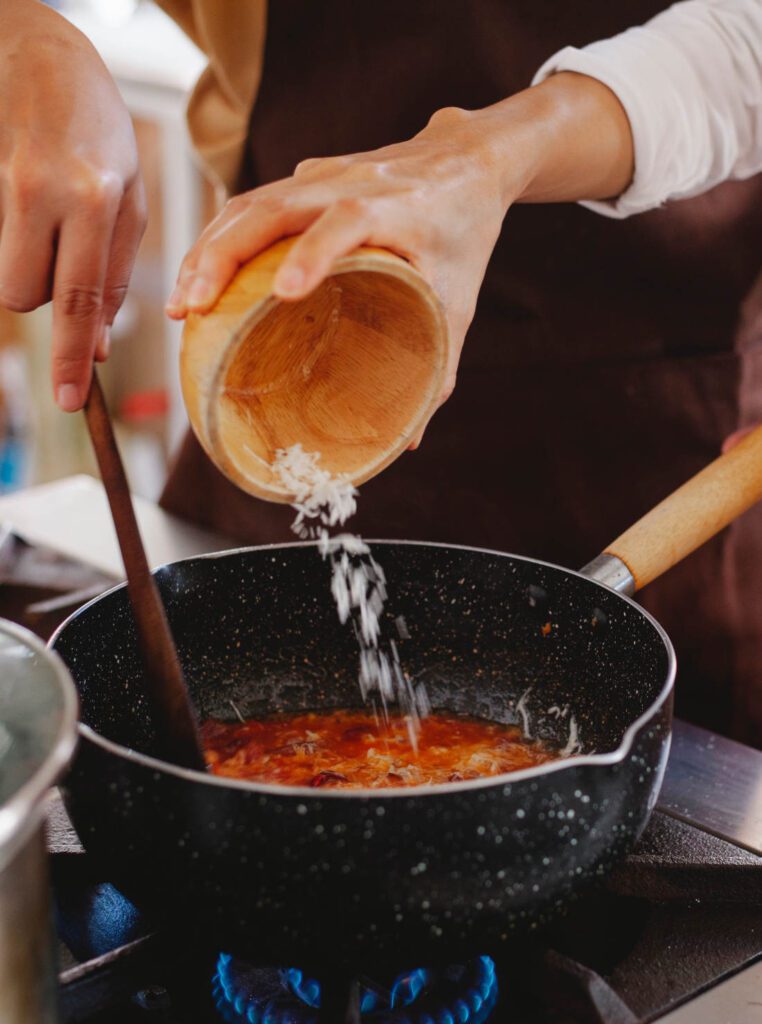
- Make sure to stir the ingredients together so that they mix well. This helps the components of the mixture to cook evenly. The resulting jam/jelly can then benefit from the contributions that each ingredient brings.
- Stir after each step where further ingredients are added to the jam. Then they can be well-incorporated and evenly distributed in the mixture.
- Where the mixture needs to be left to simmer or even boil for a while, get in there and give it a light stir from time to time. This way it is heated more evenly. Together with managing the amount of heat, this will also reduce the risk of burning.
While you do not have to keep stirring the jam/jelly all the time( I share your sigh of relief…) get into the habit of stirring regularly. This way you can limit the risk of the above issues and realise a satisfactory outcome.
Not cooking the jam long enough
Problem
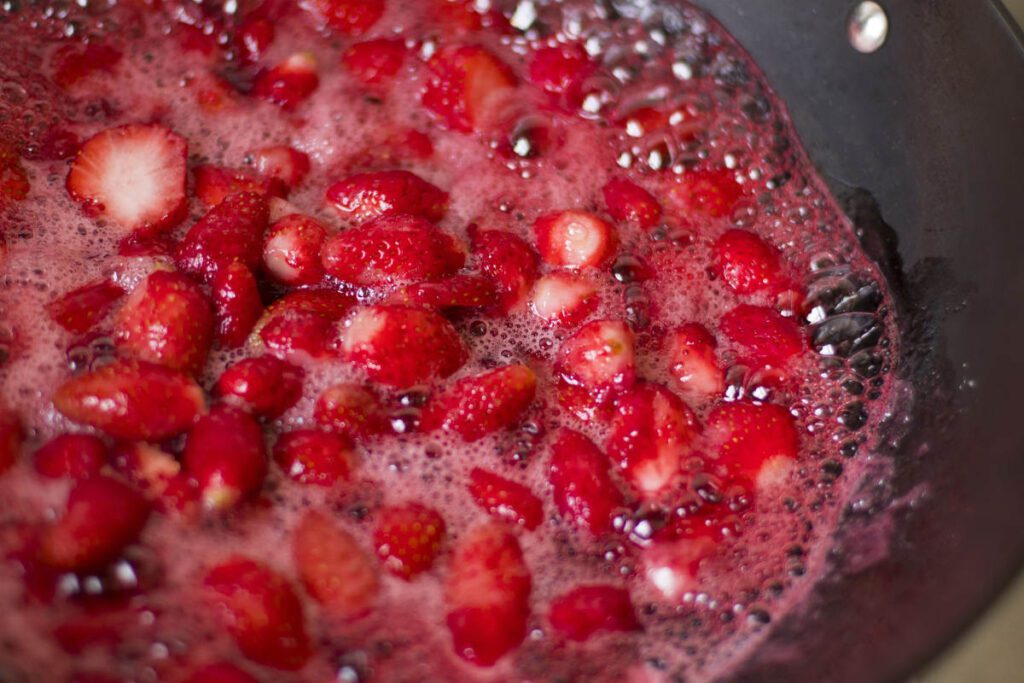
- A jam that is runny or doesn’t set properly. This can be due to an excess of liquid that remains. And which has not had long enough to boil off. Also, the pectin may not have enough time to be released and exercise its role in setting the preserve.
- The fruit may also not have enough time to soften enough. Bits of fruit may remain uncooked, with an impact on texture, and potentially shelf-life. Where the fruit is not broken down, its pectin may not be released enough to assist with setting the jelly/jam.
- The ingredients may not have had enough time to integrate. Then ingredients, like spices or herbs, will not have had enough time to add their flavours to the mixture.
- Another problem can be that the sugar is not given enough time to dissolve and disperse completely. If some remains in a crystalline state that can affect the texture of the finished product. Also, the overall flavour, texture and preservative level rely on this being well distributed in the mixture.
Make sure you cook your jam for the recommended amount of time to avoid these issues.

Remedy
If you have followed the times in the recipe, use your preferred method of testing for the ‘set point’. If this is not reached yet, then you can try:
Revisit select recipe steps
- Boil for 10 min longer and re-test for set point.
- Add some/more lemon juice one tablespoon at a time. Stir through. Boil some more before testing for set point again.
- Add some/more commercial pectin. Again a little at a time so that you do not go from runny to solid in one move! Stir and boil again after adding this and re-test for the set point.
Manage the fruit
- You can use a spoon or fork to check that the fruit has softened enough. If it is not broken down enough you can help it by pressing down with a fork/spoon and then cooking for longer before checking on this aspect again.
- If you prefer to have chunks of fruit in the jam, you can add some towards the end of the cooking time once you have confirmed the set of the rest of the mixture. Where large pieces of fruit are intended, like in a compote, and the surrounding jam is a bit runnier, store it in the fridge.
Stir some more…
- Stir the jam/jelly mixture well, on medium heat, to encourage the sugar to dissolve and blend completely.
On the journey through the delightful, yet sometimes challenging, world of homemade jams and jellies, it’s essential to remember that mishaps are a natural part of the process. There may be various hurdles that you may encounter before, during, and after making your sweet preserves, and while some of these experiences may feel discouraging, they’re certainly no reason to feel disheartened or consider your efforts a failure.

Each challenge you overcome will only serve to develop your skills and confidence in the kitchen. With patience, practice, and perseverance, you’ll soon be creating delectable preserves that not only bring joy to your taste buds but also become cherished gifts for your loved ones and friends.
So, savour each success and let each setback be a stepping stone towards mastery. After all, the sweetest rewards often come from the lessons learned along the way. Happy preserving!