Welcome back! If you’ve been following this upcycling preserves journey, you know I have already explored the what, the why, and the how of this convenient and creative practice. Here, in Part 2, I am going to keep that momentum going!
CLICK HERE TO GO TO: Upcycling Preserves Part 1: WHAT-WHY-HOW
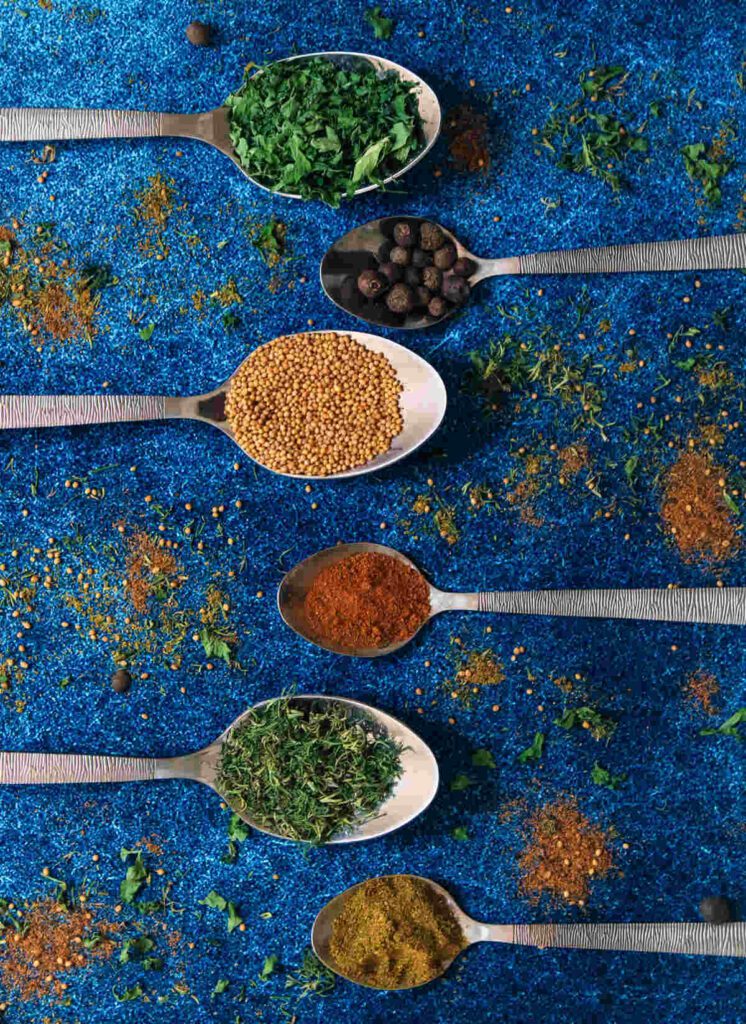
In this second part of our upcycling preserves duo, I share some top tips to help you explore the art of upcycling preserves. So, whether you’re an upcycling pro or a newbie just getting your hands sticky, hopefully, these insights will take your upcycling game to the next level.
So, get your jar of preserves ready, roll up your sleeves, and let’s transform it into something even more delicious.
1. Choose the right preserve:
When upcycling preserves, it’s important to select a preserve that is suitable for repurposing.
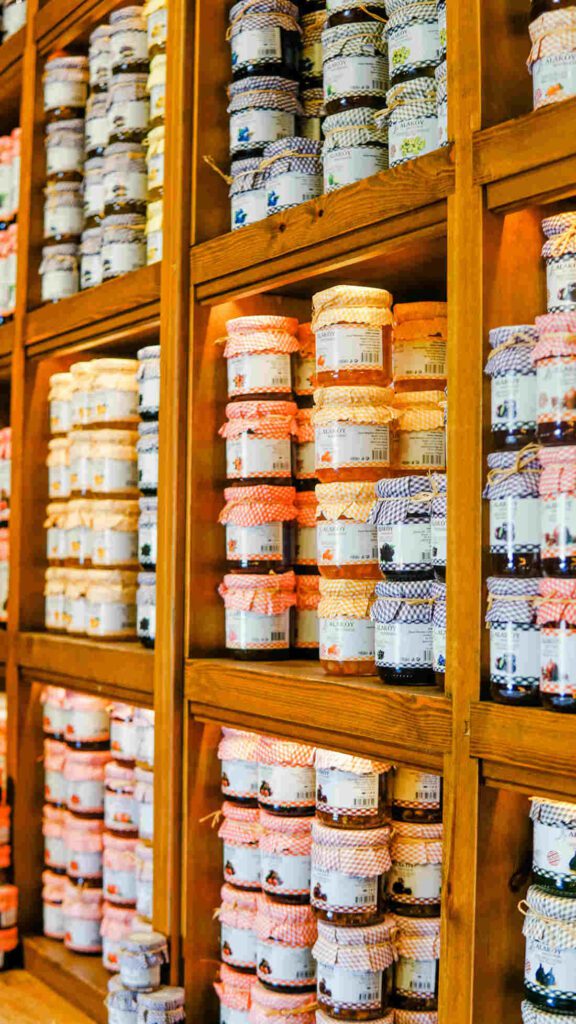
Look for high-quality preserves with no signs of spoilage, such as mould or an off smell. If the preserve has already started to deteriorate, it’s best to discard it and start with a fresh batch.
Make sure that cans or jars are not dented or cracked or lids are not sealed well as this may already put the contents at risk.
2. Check the expiration date:
Before upcycling a preserve, make sure to check its expiration date. Upcycling won’t extend the original shelf life of the product, so it’s essential to use it within the recommended time frame.
Indeed you can consider it to still be subject to that date or more safely, to a somewhat reduced shelf-life. So keep to the context of upcycling small amounts to be used soon rather than to be stored for months.
3. Start with one WHOLE new jar:
If you’re new to upcycling preserves, begin by experimenting with a single jar. This allows you to test out different flavour combinations and techniques without wasting too much product if things don’t go as planned.
You also get a sense of the process, and how it can be a good backup plan in your life.
*Do NOT use leftovers in jars of preserves to upcycle. The freshness and hygiene will have been compromised.
Find other uses for the leftovers, for example –
- Dilute and warm the left-over jam in the microwave and spoon it over desserts, or bake it into cakes.
- Add leftover chutney or sauces to stews or stir-fries.
- Chop up left-over pickles and either add to a salad or mix with cream cheese and use on a sandwich.
4. Be mindful of food safety:
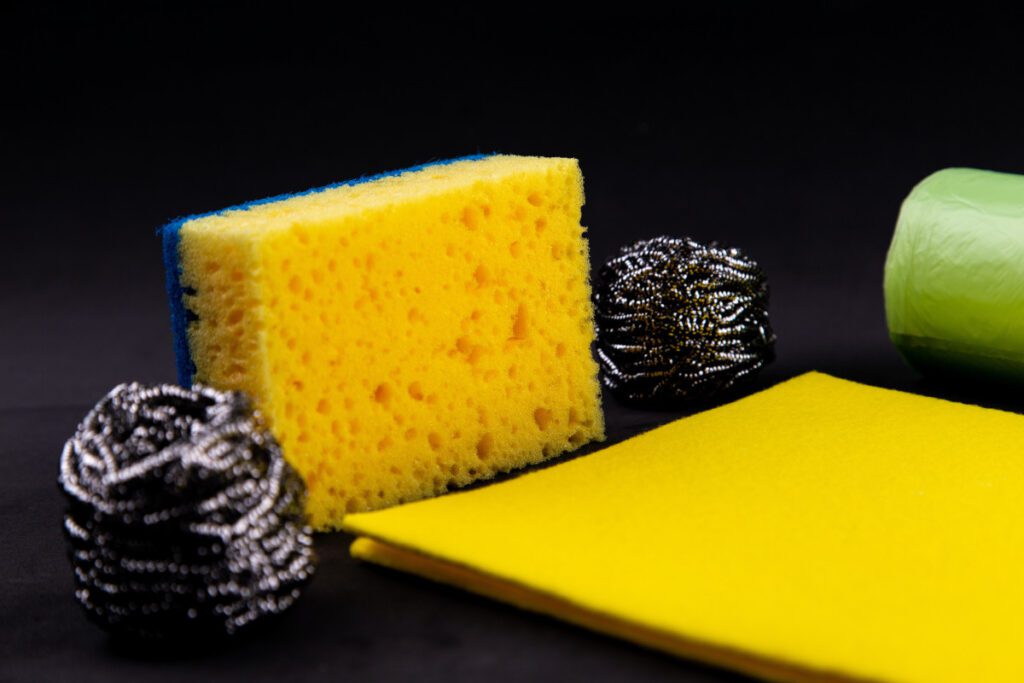
Always ensure clean hands, utensils, containers, and surfaces to prevent contamination.
Additionally, avoid adding ingredients that may spoil quickly or compromise the chutney’s safety, such as raw eggs or dairy products.
5. Use a heavy-bottomed pan:
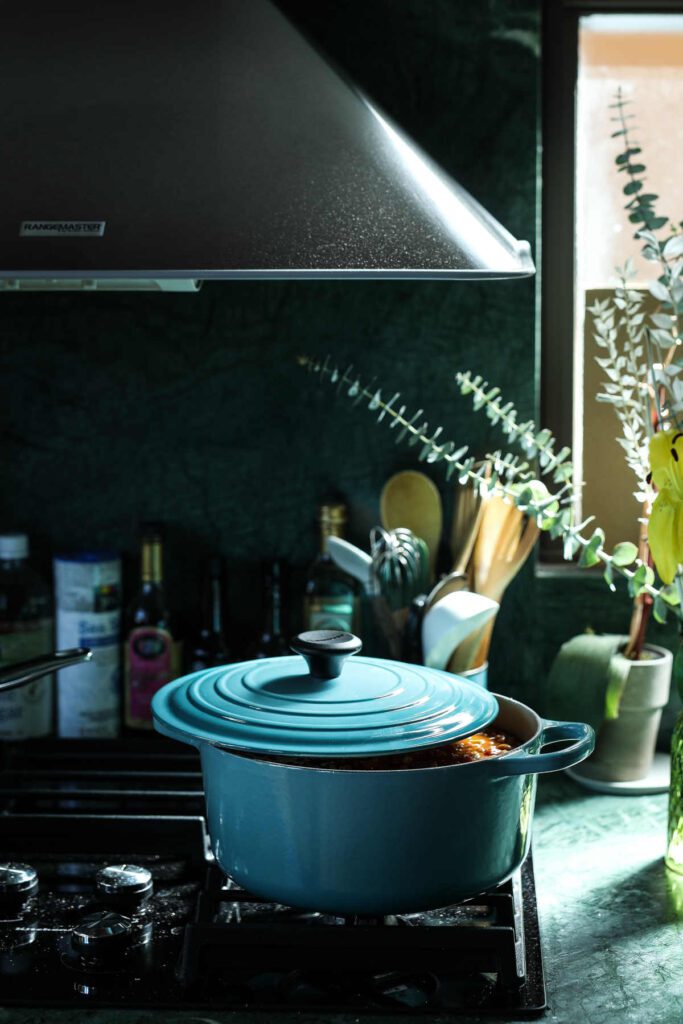
When heating preserves that have already been thickened, use a heavy-bottomed pan on low to medium heat to prevent scorching and ensure even heat distribution. This
helps to preserve the texture and taste while preventing it from burning.
6. Safely reheat preserves:
Heat the preserve gently and slowly, stirring occasionally to ensure even heating.
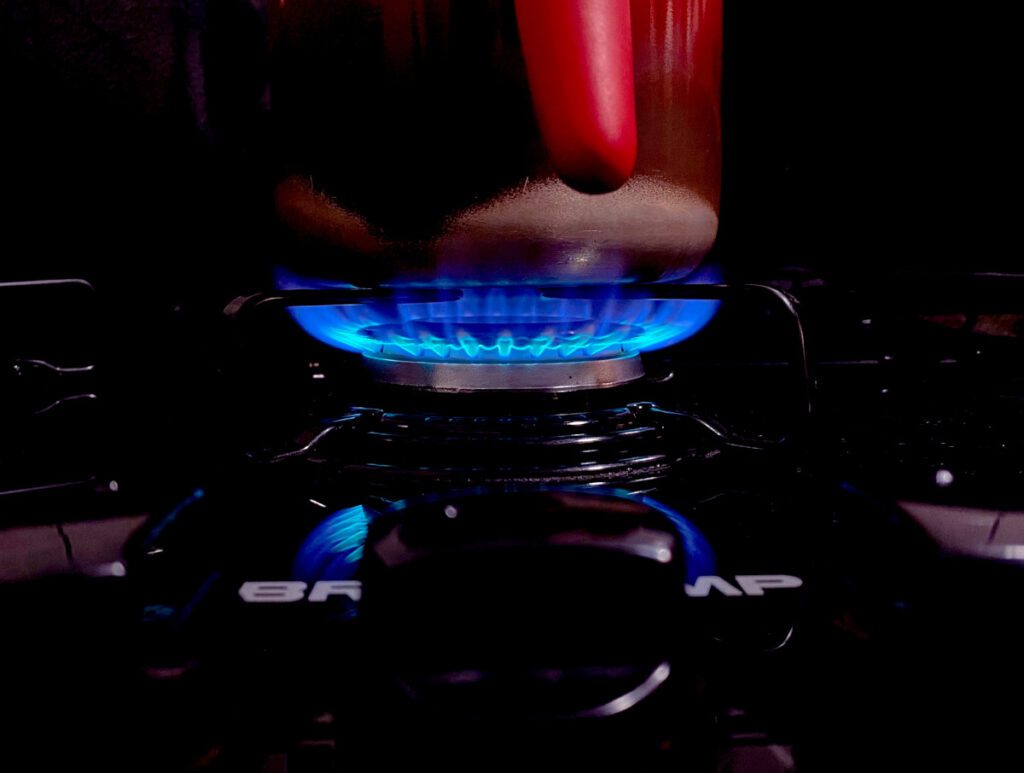
Avoid using direct heat or microwaving, as this can cause the preserve to overcook or burn, affecting the taste and consistency.
As the base preserve is already cooked, ensure that you use a low to medium heat and stir to actively manage the increased risk of burning this ingredient. Add some water if needed. The water can also help to dissolve any powdered spices and facilitate their incorporation into the preserve.
Take swift action to remove the pan from the heat and adjust the setting in the event of any signs of scorching.
7. Stir frequently:
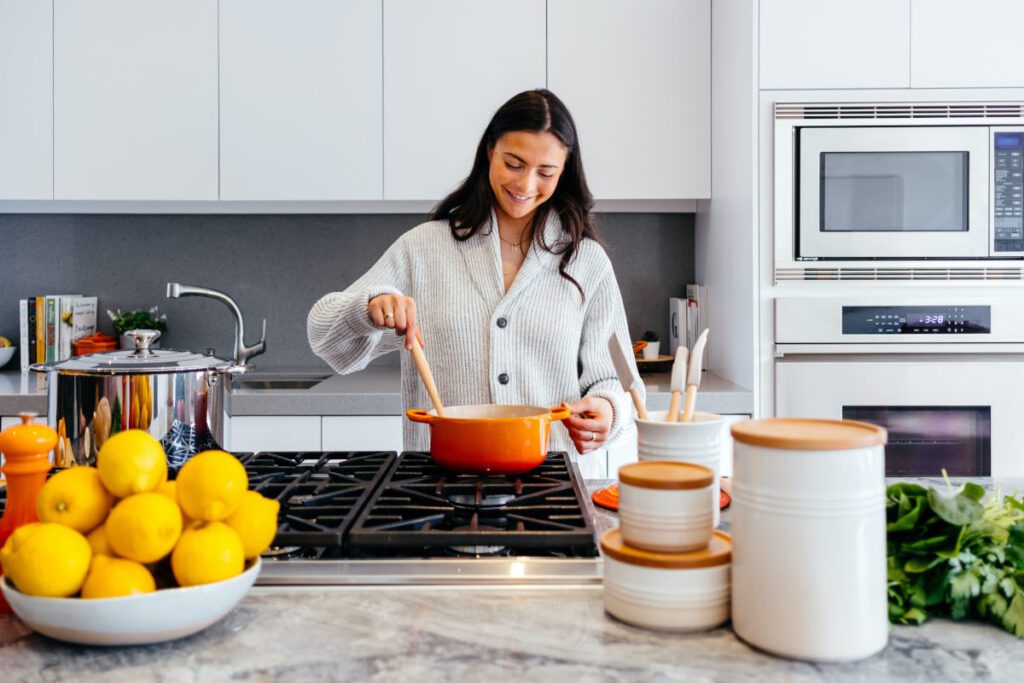
As you add ingredients and cook your preserve, be sure to stir it regularly. This prevents it from sticking to the bottom of the pan and promotes even cooking.
It also encourages the new ingredients to be dispersed evenly through the mixture.
8. Taste as you go:
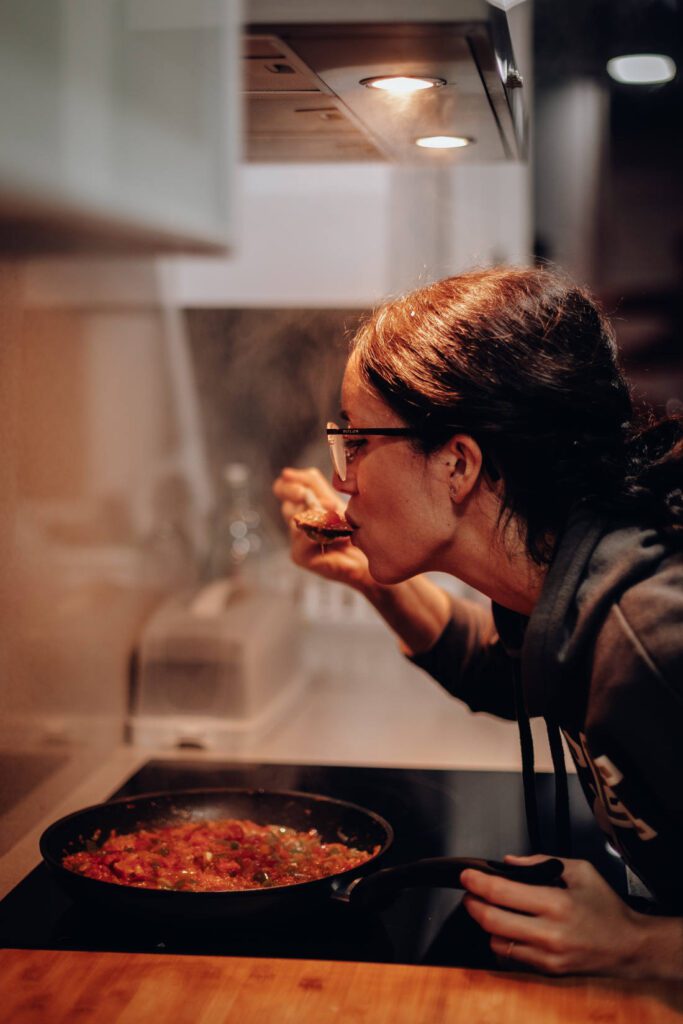
Since upcycling involves customizing the flavour (and/or texture), make sure to taste it throughout the process.
This will help you gauge whether you need to add more spices, herbs, or other ingredients to achieve your desired taste.
9. Consider some acid:
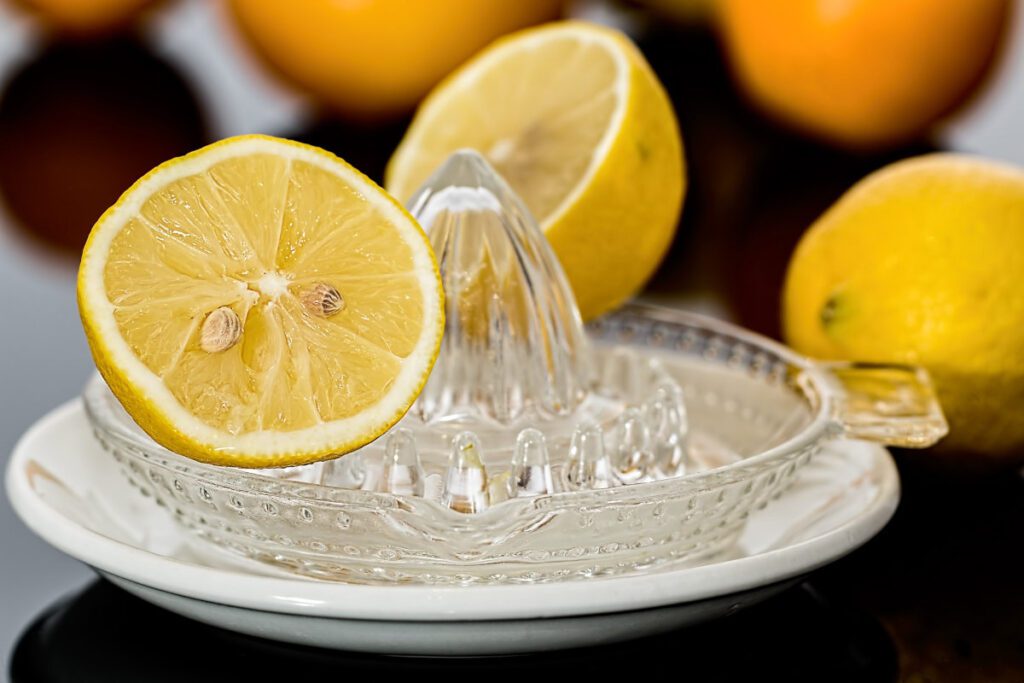
When considering which ingredients to add, especially to a chutney, consider the acidity levels. Balancing sweet, sour, and tangy flavours is crucial for creating a well-rounded chutney.
Ingredients such as vinegar, lemon juice, or tamarind paste can help achieve this balance.
Similar advice can apply to jams that are too sweet.
10. Be mindful of the effects of new additions:
Adding new ingredients to a preserve can change its set and consistency. For example, adding more sugar or fruit can make the preserve thicker, while adding liquids like juice or alcohol can thin it out.
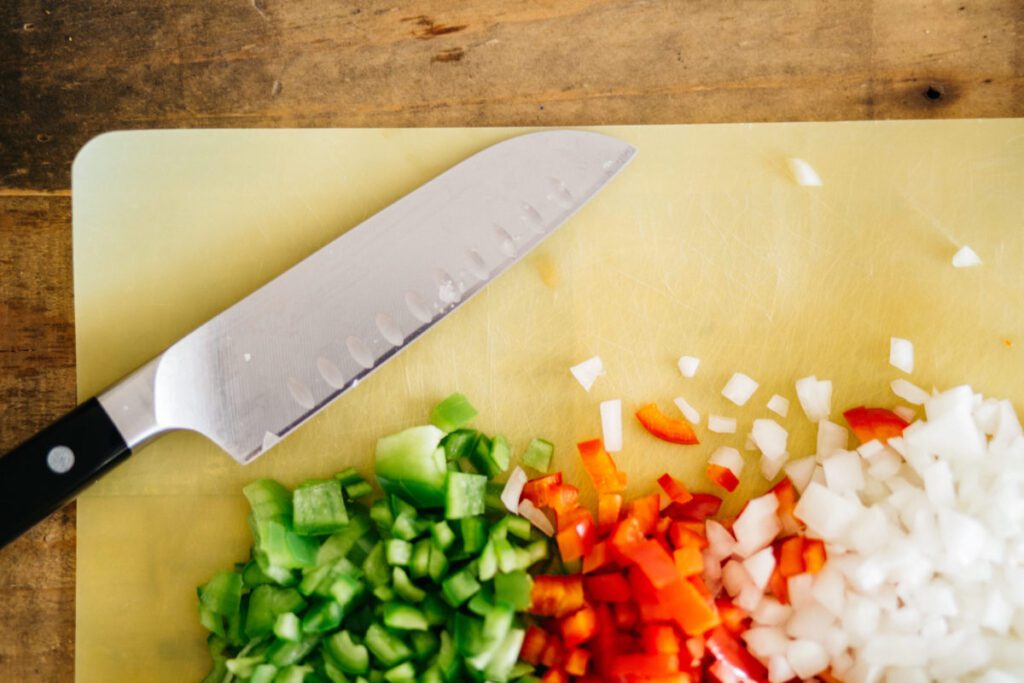
Think about whether what you would like to add needs to be cooked or prepared in any other way before marrying it with the preserve. For example, additional onions or vegetables can be softened first. Also raw ginger, garlic or fresh chilli benefits from being gently cooked first.
Always consider the impact of any additions on the final product and adjust your recipe accordingly.
11. Adjusting the consistency:
If your upcycled chutney is too thick or thin for your liking, adjust its consistency by adding more liquid (e.g., water, vinegar, or fruit juice) or allowing it to simmer and thicken.
Remember that chutney will continue to thicken as it cools, so keep that in mind when making adjustments.
12. Clean and sterilize jars and bottles:
Before potting up your upcycled preserve, thoroughly clean and sterilize the jars and bottles you’ll be using.
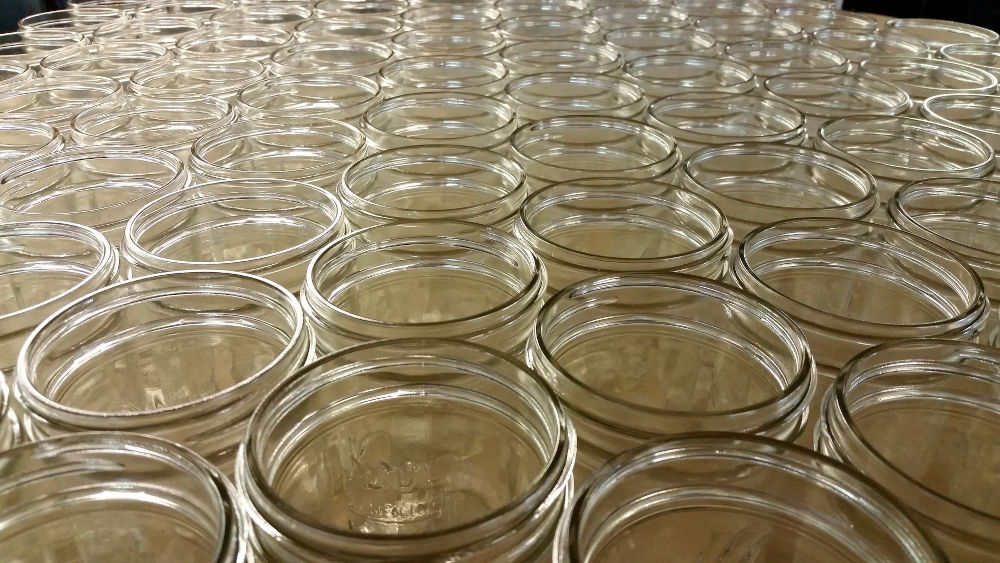
This helps to remove any bacteria or contaminants that could spoil your preserve.
Do NOT be tempted to just add the re-jigged preserve to the same jar you emptied as this is asking for unpleasant troubles like spoilage and its health effects.
I have found that when reusing the jar, because you have added additional ingredients, the mixture ends up being more than the original jar’s capacity. So make sure that you have an additional jar(s) available to accommodate this.
Also, re-label the jar with all the relevant information.
13. Adjust shelf-life expectations:
Upcycling preserves can reduce their shelf-life, so plan to use them sooner rather than later.
Keep track of when you made the upcycled preserve and store it in a cool, dark place to help maintain its quality.
Label the jar with the date it was upcycled and add a use-by date too.
14. Follow safe storage practices:
After upcycling your preserve, it’s important to store it properly to maintain its quality and safety.
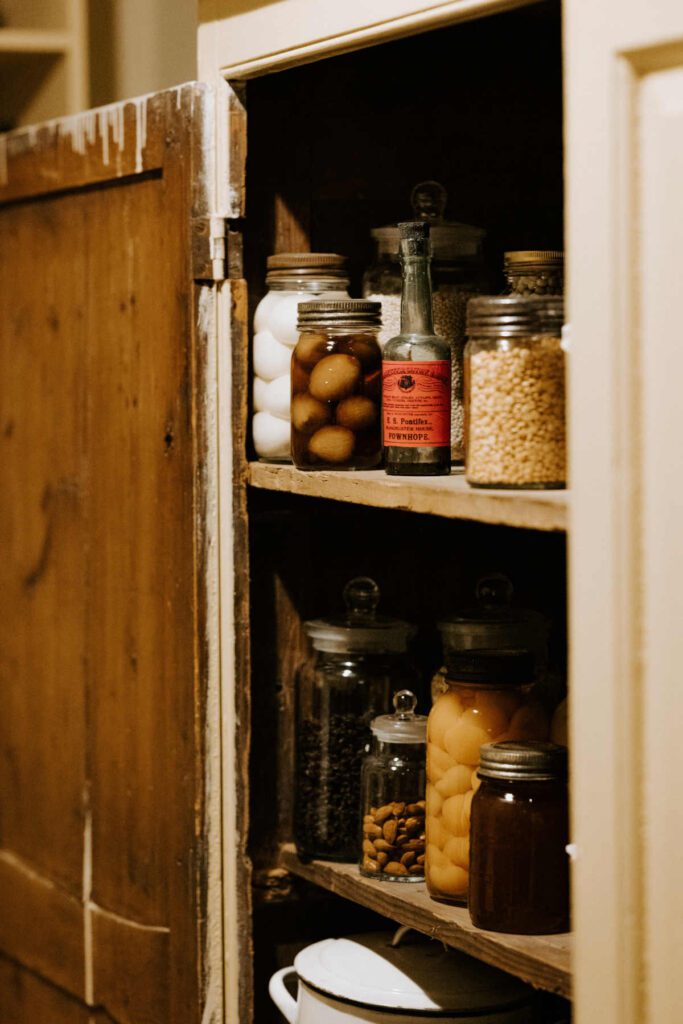
While you may, in theory, store it in a cool, dark place away from direct sunlight, ensuring that the jar or bottle is tightly sealed. And then, once opened, store the preserve in the refrigerator and use it within a few weeks.
If you do try this, it should only really be for maybe 4-6 weeks. You must be aware of a potentially higher risk of spoilage, and so you must know what the signs of a preserve having gone bad looks/smells/tastes like.
I prefer to and recommend that, given that the context of upcycling preserves is to be able to upgrade and use them soon, it is stored in the refrigerator. Then used within 4 weeks. Convey this information to family and fried when you share your creations – in fact, include it on the label.
15. Recognise spoilage:
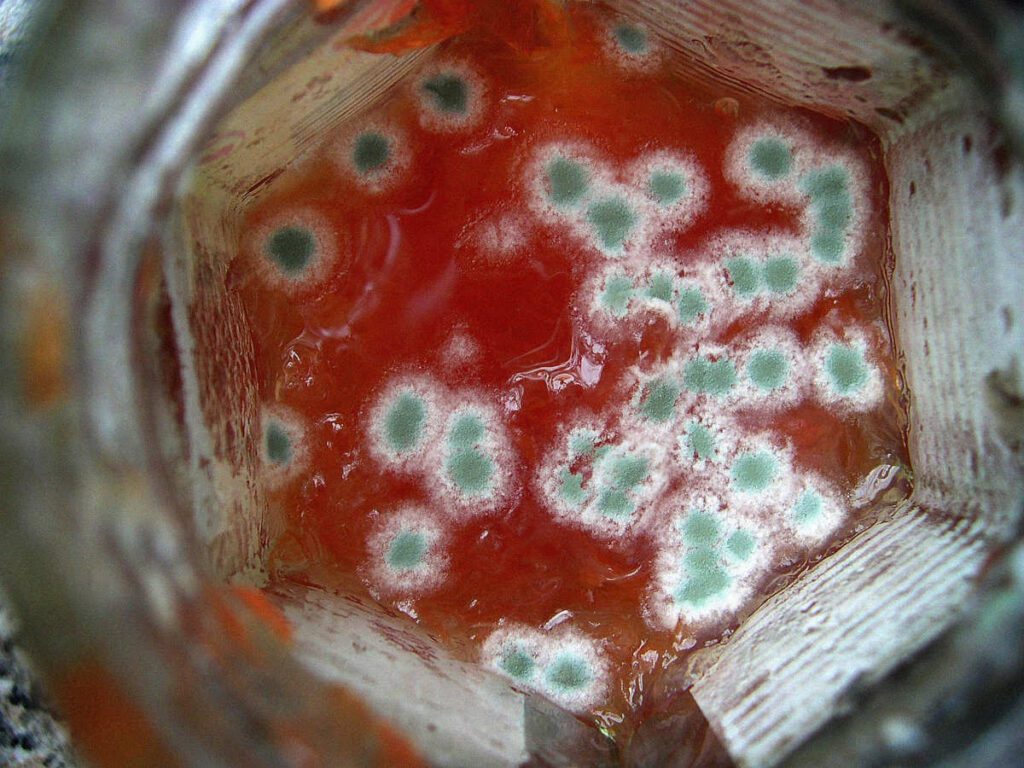
As with any preserve, before using an upcycled preserve, always check for signs of spoilage, such as mould, off smells, or changes in texture.
If you suspect that your preserve has spoiled, it’s best to discard it and not consume it. It’s better to be safe than sorry when it comes to preserving and upcycling food.
16. Label your creation:
To avoid confusion, label your upcycled chutney with the date it was made and any significant alterations to the original recipe.
This helps you keep track of its shelf life and makes it easier to replicate your favourite combinations in the future.
17. Decide when you would like to use it:
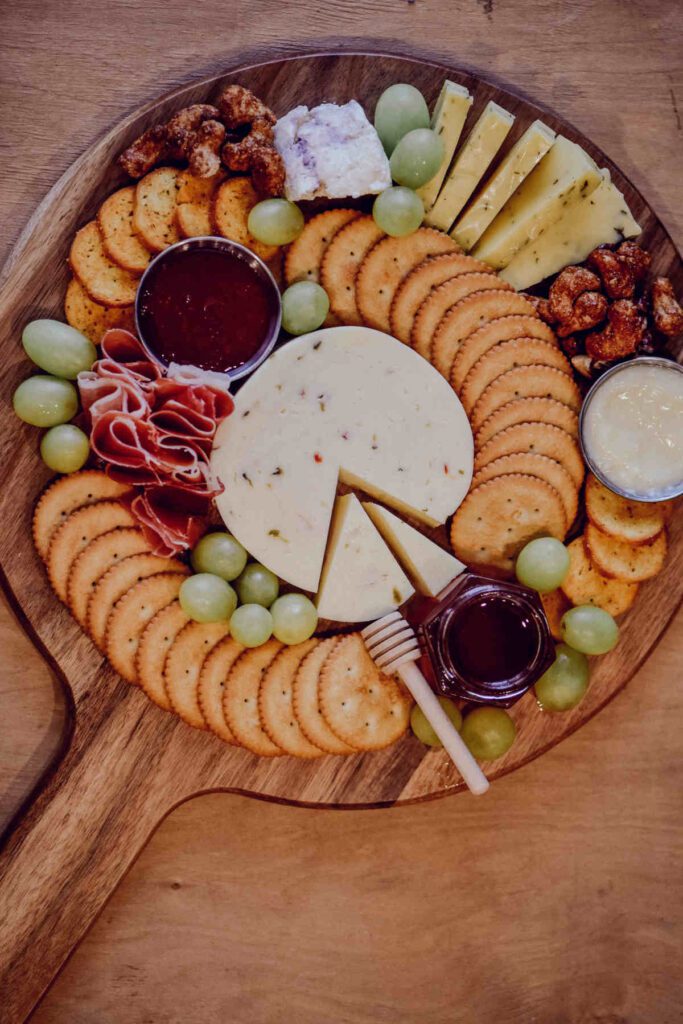
You can upcycle a preserve, and serve it a few hours later. Chutneys and pickles do benefit from being left for at least 24 hours for the flavours to develop and soften.
If you plan to use it almost immediately you may have more leeway with adding some fresh ingredients towards the end of cooking – like chunks of fruit to an upcycled jam to turn it into a luxurious compote, or some nuts stirred through a chutney; chopped tomato with sweet peppers for a chunkier ketchup etc
18. Update things in your recipe journal:

Add your list of changes and upgrades to your recipe journal. Believe me, you don’t want to forget exactly what you did to create that really special flavour combination and not be able to make it again!
It also reminds you about what worked and what did not.
My husband says regularly to me, having bitten into a new tasty preserve, ‘Have you written this down?’. And then I have to get up and do it immediately (while longing for my next bite….) otherwise I will and have and do forget, with much regret!
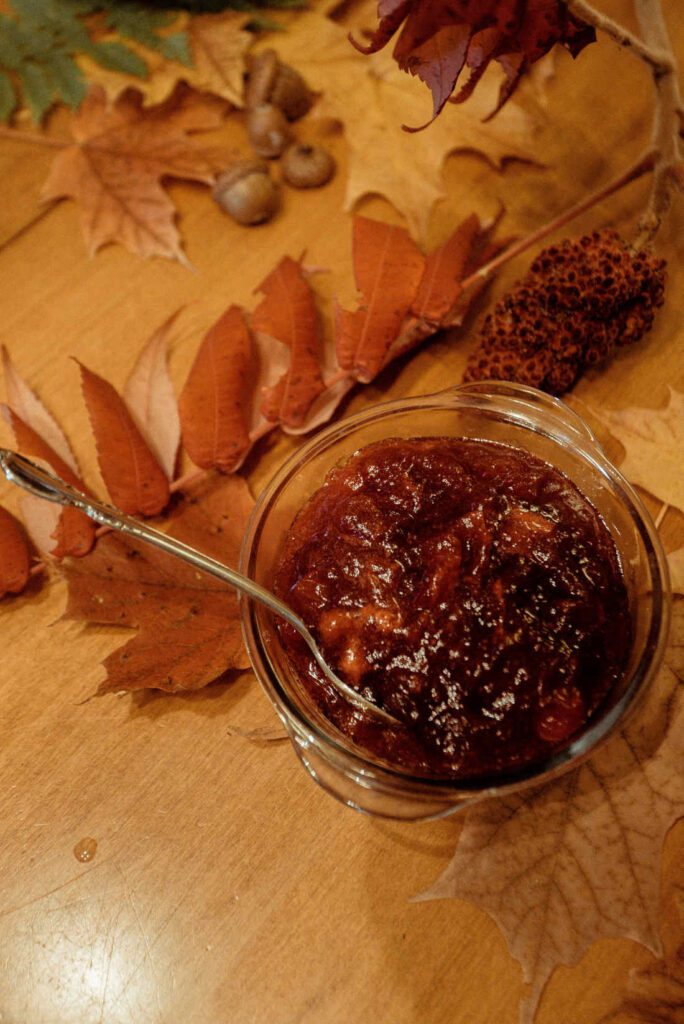
And there you have it, folks! We’ve journeyed together from the what, why, and how of upcycling preserves in the first ‘Upcycling Preserves’ post, to now looking at some practical tips and tricks to give this a try.
I hope these insights have inspired you to view that humble, forgotten or bought-in-haste jar of preserves in your cupboard with a fresh set of eyes. And that you grow in confidence and delight about being able to whip up something a bit special with a quick, inexpensive trip to the shops and some added ingredients. A reassuring, and enjoyable, backup plan when the store of made-from-scratch jars has run low.
I encourage you to have a look at some of the upcycling recipes I have added, which I have made more than once over the years.
Preserving and making homemade creations is truly a wonderful experience, and has a valid and useful place even in our modern world of fast living.
CLICK HERE TO GO TO: Upcycling Preserves Part 1: WHAT-WHY-HOW
UPCYCLING RECIPES:
Upcycling Red Onion Chutney, Upcycling Strawberry Jam, Upcycling Tinned Peaches, Upcycling Mango Chutney, Upcycling Tomato Ketchup, Upcycling Pickled Gherkins