In the fascinating world of homemade jams and jellies, the sweet aroma of simmering fruits and sugar can fill your kitchen. But this is also where mishaps and challenges are part of the journey. Fear not, fellow preserve enthusiasts, for issues like discovering that your jam looks odd are common and can happen to anyone who dares to make their own.
Sometimes there’s a clear cause for the issue, while other times, it might be a mysterious combination of variables that come together to create an unexpected outcome.
The good news is that many of these mishaps can be remedied or , at least partially resolved. This may then allow you to salvage your creation or find alternative ways to use it.
Remember that learning and experimenting are integral parts of the creative process. You’ll discover new flavour combinations and techniques. Some will be a revelation, while others may fall short of your expectations.
But don’t let these experiences slow you down in continuing to create your preserves. Each trial brings valuable insights to help you improve and refine your skills.
Bubbles in the Jam/Jelly
Problem
Have you ever noticed bubbles forming in your homemade jams or jellies after they’ve been jarred? Don’t worry, this is a common occurrence and can be caused by a few different things:
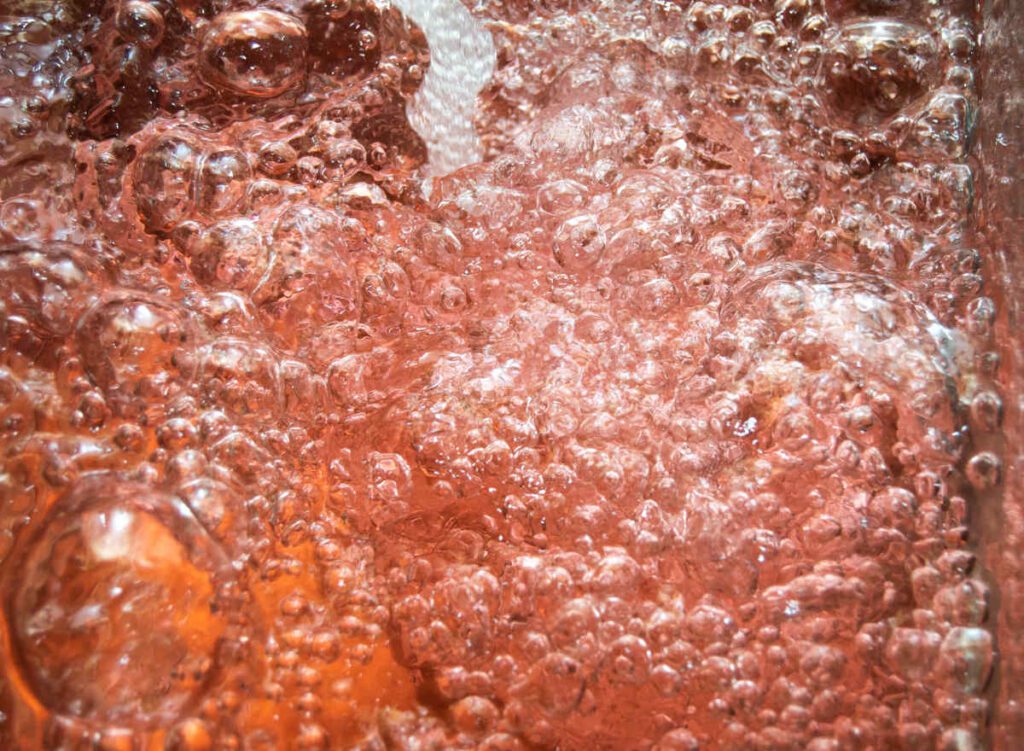
- One possible cause is the natural release of air from pockets. This can come from some air in the ingredients, and also generated during the cooking process.
- Adding too much pectin.
In theory, at least, too many air bubbles can reduce the shelf-life of the product and make it more prone to spoiling, so keep this in mind.
Remedy
- Make sure to stir the mixture frequently, but gently, during the cooking process to prevent any air pockets from forming.
- You can also try tapping the jars on the counter before sealing them to release any remaining air bubbles. Use oven gloves and handle the heated jars with caution. Or you could use a bubble remover/bubble stick to encourage the bubbles to release from the mixture.
- Remove the preserved mixture from the heat. Let it stand for a few minutes to allow the bubbles to rise to the surface. If you can see the bubbles on the surface, skim them off before pouring the mixture into the jars.
- If these solutions don’t work, you can try adjusting the amount of pectin you use in the recipe next time round.
- Experiment with different cooking methods. Some people have found success by using a water bath canner or pressure canner to seal the jars. During these processes, the air bubbles are encouraged to rise.
- The air bubbles do not affect the taste of the preserve, so you can enjoy it anyway.
Jam/Jelly is a darker colour than expected
Problem
Has your jam/jelly turned out darker than you expected? Don’t worry, this can happen for a few different reasons including:
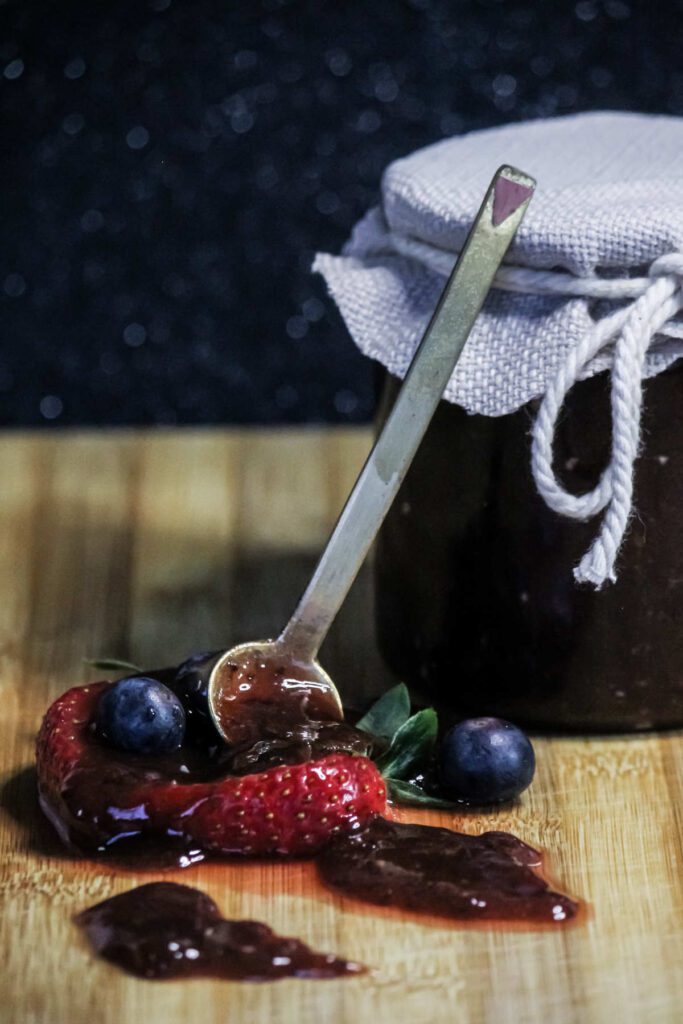
- Overcooking the mixture, which can cause the sugars and fruit to caramelize and darken in colour.
- Using dark-coloured fruits (e.g. damsons). Or other ingredients like dark-brown sugar, cinnamon or cloves can cause the mixture to be dark.
- Some preserves when stored for a very long time tend to darken as part of a natural process.
- Others, like quince paste, darken naturally as part of the maturing process.
- Jams/jellies can also appear darker as a sign of spoilage, so keep this in mind.
Remedy
Solutions to help limit your jam or jelly from turning too dark:
- Make sure to cook the mixture on the lowest heat possible, stirring frequently to prevent any overcooking or caramelizing.
- Decide what your aim is with making the jam or jelly. If you prefer to make one that is naturally lighter in colour, then select fruits like strawberries or peaches. Use them with white sugar, which can help keep the colour of the jam or jelly light.
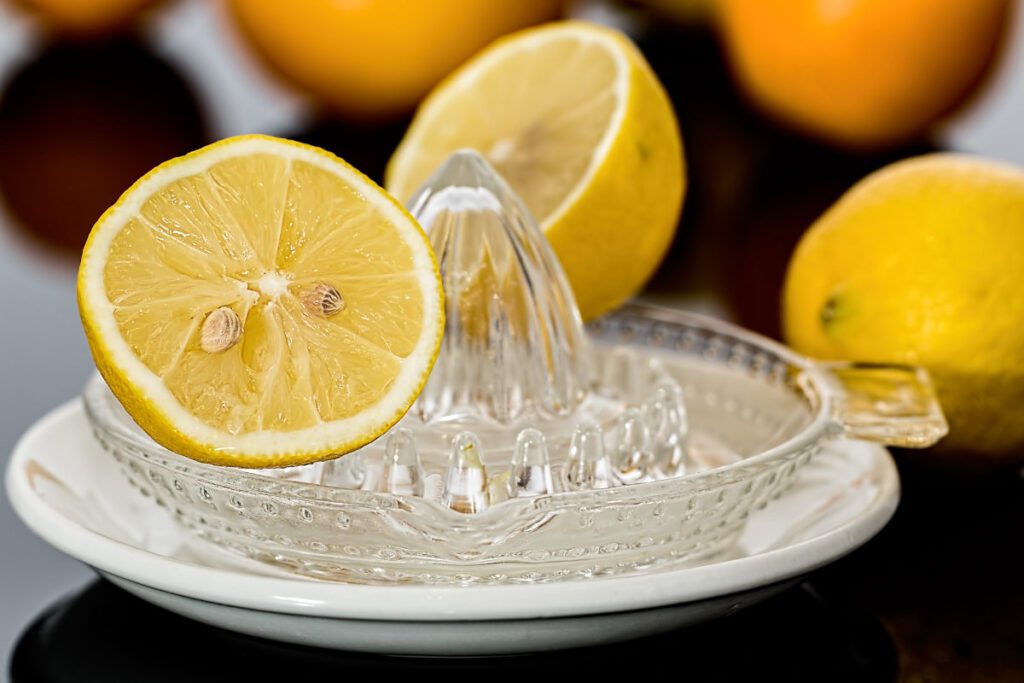
- Use lemon juice or a pectin product that is less likely to alter the colour of the mixture.
- Adding a small amount of citric acid can help to brighten the colour and prevent browning.
- Consider spices that won’t affect the colour in a big way, e.g. vanilla extract or nutmeg.
Don’t let a darker-than-expected jam or jelly ruin your hard work. With these tips and tricks, you can create beautiful, delicious spreads that look as good as they taste!
Fruit floating near the top of the jam.
Problem:
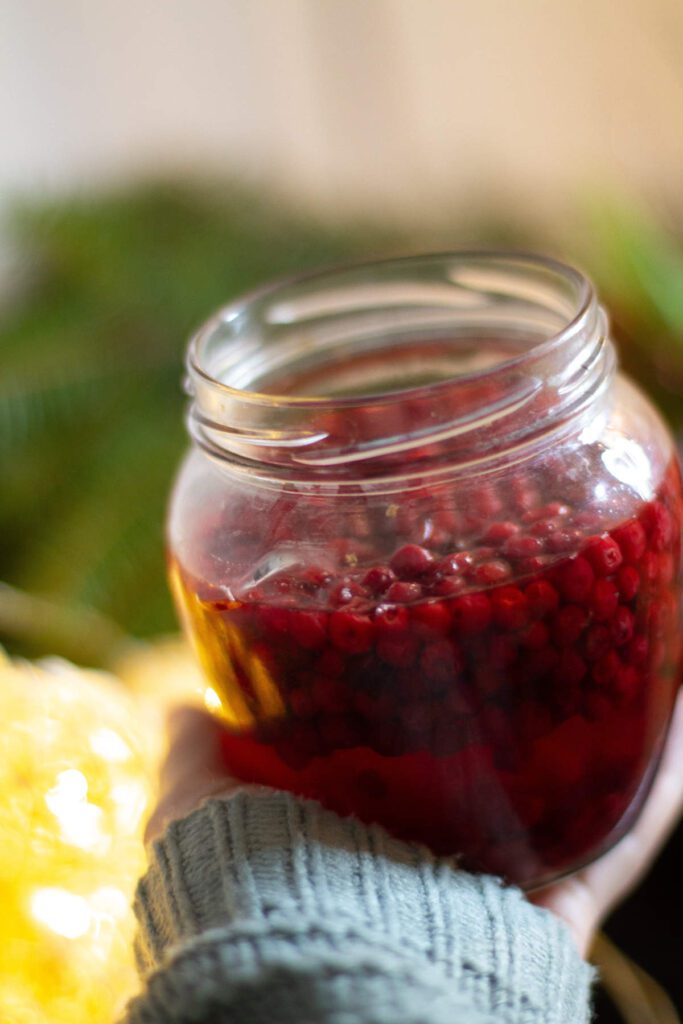
Density:
When making jam, the fruit and sugar mixture is typically denser than the liquid/syrup component of the recipe.
As the mixture begins to cool and thicken, the fruit may rise to the top due to its density and possibly fine trapped air bubbles. This results in a layer of fruit on the surface of the jam.
A lot of Pectin:
Fruits that are high in pectin, such as apples or citrus fruits, may cause the mixture to thicken and set more quickly, leading to the fruit rising to the top before it has fully incorporated into the mixture.
Stirring:
If the mixture is not stirred frequently enough during the cooking process, the fruit may rise to the top due to uneven heating and not being cooked enough.
It’s important to stir the mixture regularly to ensure that all the ingredients are evenly distributed and that the fruit stays mixed throughout the jam or jelly.
Remedy:
- You can’t fix the problem of fruit floating at the top of a jam once they are preserved and sealed. So you will just have to enjoy those jars as they are.
- But you can work toward this not happening with your next batch. So take note of the following:
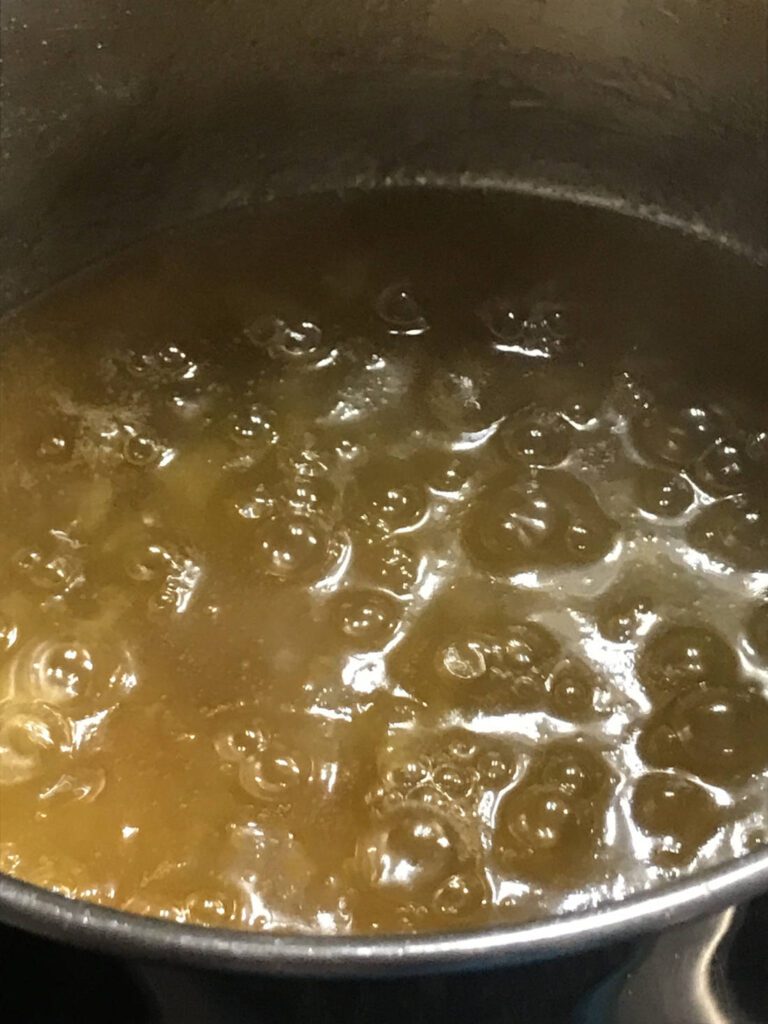
- Once the set point of the jam has been reached, remove the jam from the heat and let it stand for 2-5 minutes.
- Then gently stir the mixture a final time so that the active thickening that happens at this stage holds the fruit more suspended and dispersed through the jam.
- Ladle into your prepared jars immediately.
Cloudy jam
Problem:
Possible causes can include:
- Too much sugar can cause crystals to form in the jam/jelly which can present as cloudiness.
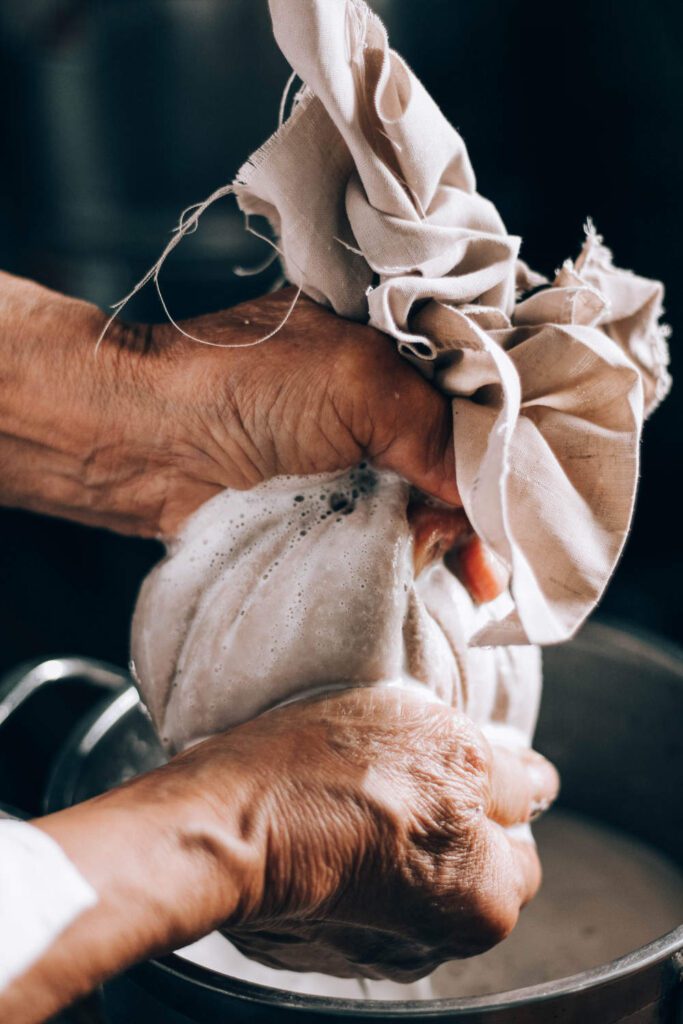
- Commonly, in the jelly-making process, you need to strain the mixture through a jelly bag. If this bag is squeezed to hasten the draining process, some of the pulp is forced into the jelly, making it cloudy.
- Cloudiness can also result from using too much pectin – whether this is lemon juice or commercial pectin or using fruit that is too underripe (which is high in pectin). This can then promote the jam/jelly setting too fast, trapping air bubbles in the preserve and making it look cloudy.
- Sometimes, if not enough water was used when cooking the jam or jelly, this will also cause it to be cloudy.
- And lastly, if the mixture was cooked for too long or at too high of a temperature, it can become cloudy.
Remedy:
There is nothing to be done about cloudy jam/jelly once it has been preserved and sealed.
The cloudiness does not affect the taste; and other than some change in texture due to fine pulp or sugar crystals, you can use the jam/jelly as intended.
It’s only its look that you are not happy with – close your eyes and enjoy it anyway!
How to prevent cloudiness from happening again:
- For causes such as too much sugar or pectin, or too little water being used try to follow the recommendations in the recipe more closely where hopefully the relative proportions of ingredients will prevent a cloudy result.
- The clearest jellies result from exercising patience and letting the fruit mixture drain completely through the jelly bag, without any squeezing. If the juice you have already pressed looks cloudy, then pass this through through a damp jelly bag or damp double muslin or fine-meshed strainer again – and do NOT squeeze!
- Some underripeness in fruit can be accommodated relative to the recipe and indeed can aid the set in some cases. But fruits that are too unripe should be avoided unless there is a proportionate compensation with the other ingredients to manage the risk of high pectin effects.
There are white pieces in the jam/jelly
Problem:
White pieces floating in the jam/jelly can be a somewhat alarming sight. Some of the possible causes include:
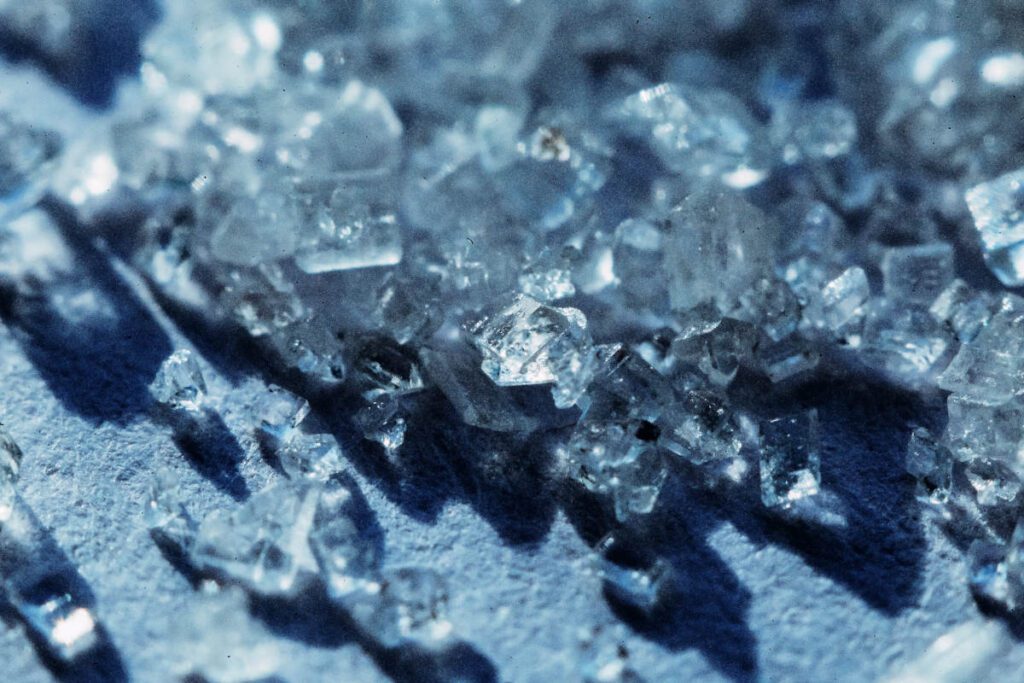
- Bits of fruit peel (or pith) or pectin that have separated from the mixture during the canning process
- Sugar crystals may have formed in the preserve.
- A poteantial sign of spoilage.
If you find yourself with a jar of jam or jelly with white pieces, don’t worry – the preserve is likely still safe to eat.
However, if the white pieces appear to be mould or fungus, and the jam/jelly smells bad and maybe slimy, it’s important to discard the entire jar and not eat any of the contents.
Remedy
*NOTE: Make sure to exclude spoilage of the preserve as the cause, before trying any of the possible remedies.
Also, some jams and jellies may not be able to be rescued if the white pieces are too numerous or the texture has been irreparably altered.
To salvage the preserve, you can try several different approaches depending on the texture and consistency of the mixture.
- If the white pieces are large and noticeable, you could strain the mixture through a fine-mesh sieve or muslin to remove them.
- You may just choose to use the preserve anyway, now that you understand what may have caused this effect. Next time, with careful techniques and storage, it’s possible to prevent the formation of white pieces all together and ensure that your homemade preserves are as delicious as they are visually appealing.
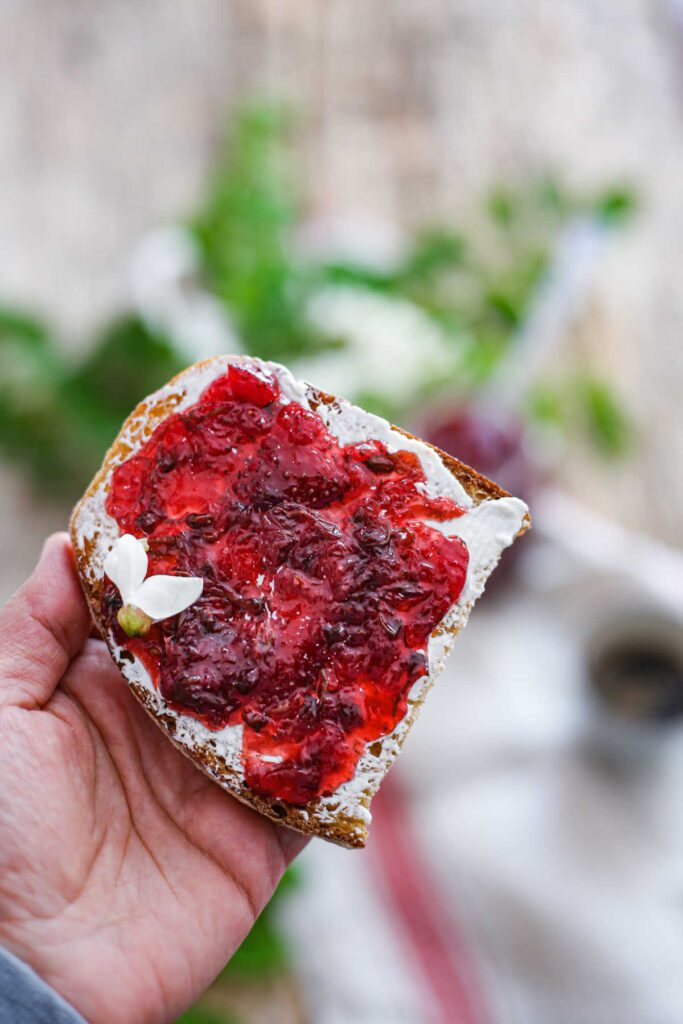
On the journey through the delightful yet sometimes challenging world of homemade jams and jellies, it’s essential to remember that mishaps are a natural part of the process. There may be various hurdles that you may encounter before, during, and after making your sweet preserves, and while some of these experiences may feel discouraging, they’re certainly no reason to feel disheartened or consider your efforts a failure.
Accept that there is a learning curve and continue experimenting with new techniques, flavours, and methods in the pursuit of your ideal homemade jams or jellies. Each challenge you overcome will only serve to develop your skills and confidence in the kitchen. With patience, practice, and perseverance, you’ll soon be creating delectable preserves that not only bring joy to your taste buds but also become cherished gifts for your loved ones and friends.
Savour each success and let each setback be a stepping stone towards mastery. After all, the sweetest rewards often come from the lessons learned along the way. Happy preserving!