If you’re looking for a bright and refreshing drink to enjoy, look no further than an orange liqueur. So, let me introduce you to an orange liqueur recipe and some suggestions on how you can put this tasty drink to good use!
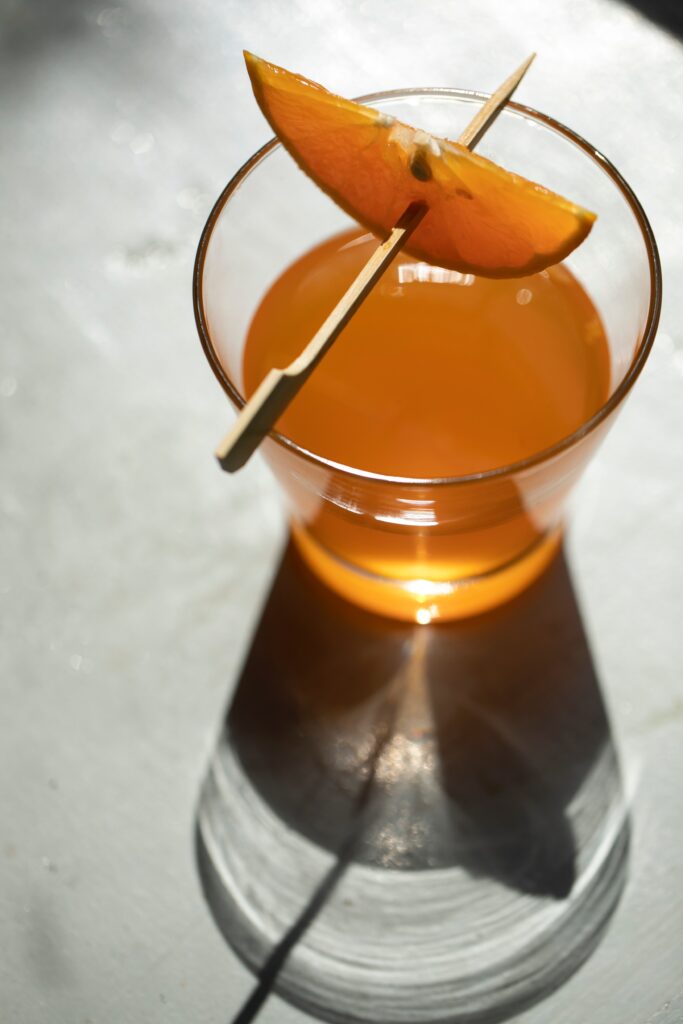
Go ahead, give it a try!
Orange liqueur, also known as orangecello, is a delicious Italian liqueur made from oranges. It’s perfect for sipping after dinner or mixing into cocktails. While you can always buy orange liqueur at the store, it’s also easy to make at home and you can tailor-make the flavours to your unique taste.
Some reasons to try making this homemade liqueur include:
- You can control the sweetness. Store-bought liqueurs can be overly sweet, but when you make them yourself, you can adjust the sugar level to suit your taste.
- You can experiment with using different types of oranges. There are many varieties of oranges out there, and each one will give your orange liqueur its unique flavour. So why not experiment until you find your favourite?
- It’s surprisingly easy to make. Don’t be intimidated by the thought of making a homemade liqueur – it’s quite simple. All you need is a good recipe and a little patience while it steeps and becomes fabulous!
So go ahead and give it a try – you may just be surprised at how much you enjoy making this orange liqueur at home!
The making of orangecello
Making an orangecello is a relatively simple process that results in a delicious and refreshing drink. All you need is some good oranges, sugar, and vodka.
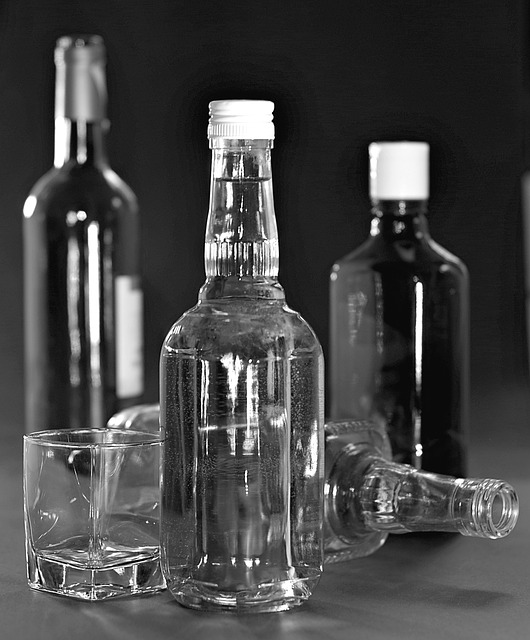
I recommend using vodka as the base spirit, as it has a neutral taste that will allow the orange to shine through. Zest or thinly cut off pieces of the orange peel. Be sure to remove only the orange part of the peel, as too much of the white pith can make the orangecello bitter (unless this is what you would like). By utilizing a vegetable peeler, you can swiftly and effortlessly remove wide strips of peel, whilst evading the majority of the white pith.
Then simply combine the vodka and orange zest in a jar or bottle. Seal the container and store it in a cool, dark place for at least two weeks, shaking occasionally. The longer you let the mixture steep, the more flavorful your orange liqueur will be.
When it’s ready, strain the mixture and set it aside while you make the sugar syrup. Add the sugar syrup to the orange vodka mixture according to your sweetness preference and shake to mix well. Transfer the liquid to your preferred bottle(s).
Now you can enjoy your homemade orangecello neat or on the rocks. Cheers!
TIPS for making homemade orange liqueur
1. It can be made with either fresh oranges or dried orange peel. If using fresh oranges, try to use ones that are organic and pesticide-free. Choose oranges that are ripe and juicy for the best results.
2. It’s important to use reasonable quality alcohol for making this liqueur, whether it is vodka, rum, or brandy. Avoid using too cheap alcohol, as its harsh notes will affect the flavour of the liqueur.
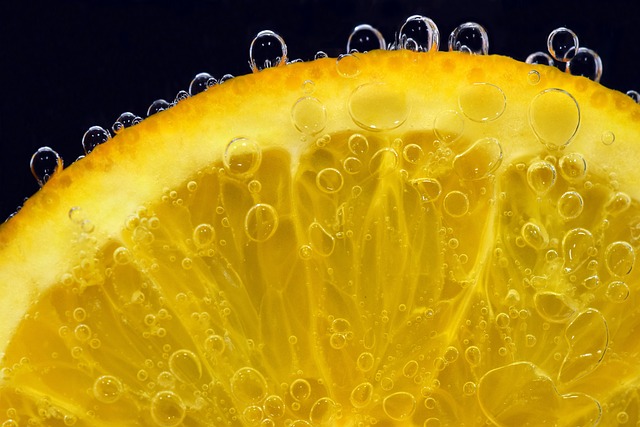
3. There are versions of this recipe where you can just slice the oranges and steep them in the alcohol, drain them after 2 weeks, add the sugar syrup and voila. Another juices the oranges and adds the juice to the alcohol, with or without the zest/peel. So many different approaches out there.
4. When storing orange liqueur, be sure to keep it in a cool, dark place. And enjoy it within 6 months for the best flavour!
5. To get a smooth, clear liqueur, strain the mixture through a fine-mesh strainer or muslin before bottling it.
6. If you struggle to find a wide neck jar, you could use a clean, sterilised glass bowl, and cover it tightly with cling film and a tea towel over it. Stir the mixture instead of shaking – replace the plastic wrap if needed to maintain the seal.
7. And finally, don’t forget to enjoy your orangecello responsibly! It is a delicious and potent liqueur, after all.
Customizing the orange liqueur
1. Add some grapefruit peel or dried orange peel to the recipe for a stronger orange flavour.
2. Steep spices such as cinnamon, cloves, star anise or vanilla in the liqueur for added flavour. Add the spices towards the end of the steeping period e.g. after a 2-week maturation, add your chosen spice and allow to steep for an extra day. Do not use too much spice. You do not want the spice to overpower or compete with the orange flavour which is the star here. A hint of spice is what makes it interesting.
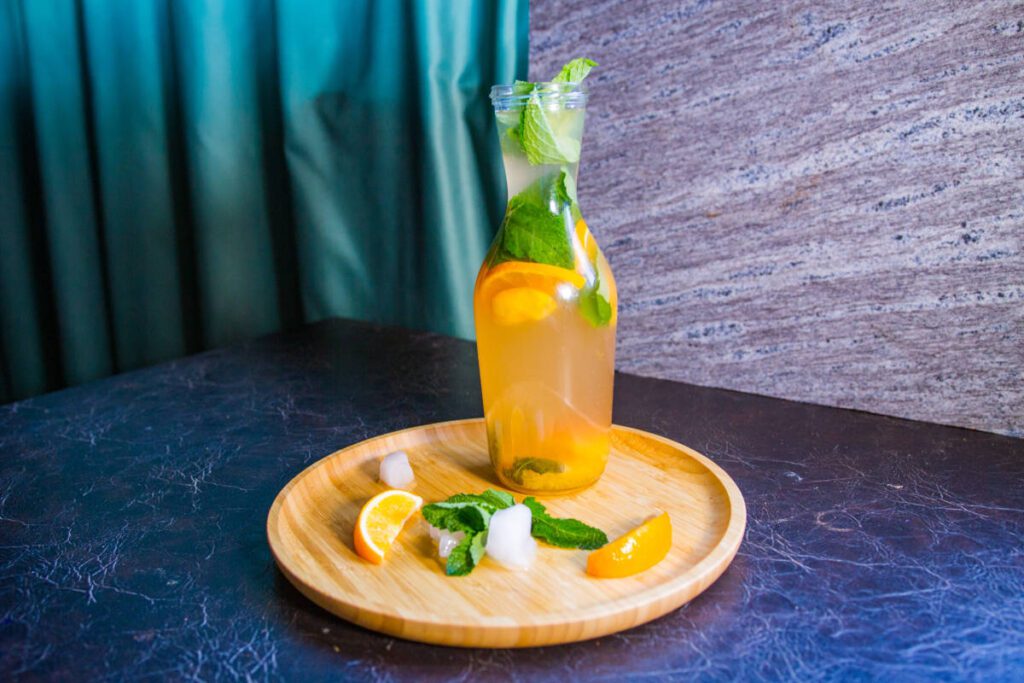
3. Add a complimentary herb e.g. rosemary, mint, thyme for a unique flavouring. Add the herbs towards the end of the steeping period e.g. after a 2-week maturation, add your chosen herb and allow to steep for an extra day. Do not use too large an amount of herbs. You do not want the herbs to overpower or compete with the orange flavour which is the star here. The hint of herb flavour added to the orange is what makes it interesting.
4. Replace one of the cups of vodka with a cup of brandy to make your own version of a Grand Marnier type of orange liqueur.
5. Allow the liqueur to age for a few weeks or months to allow the flavours to blend and deepen.
A few suggestions for using your orange liqueur
1. In cocktails like a Margarita or Cuba Libre. Sip in straight up over ice to dilute some of the sweetness, or warm in front of a fire in winter.
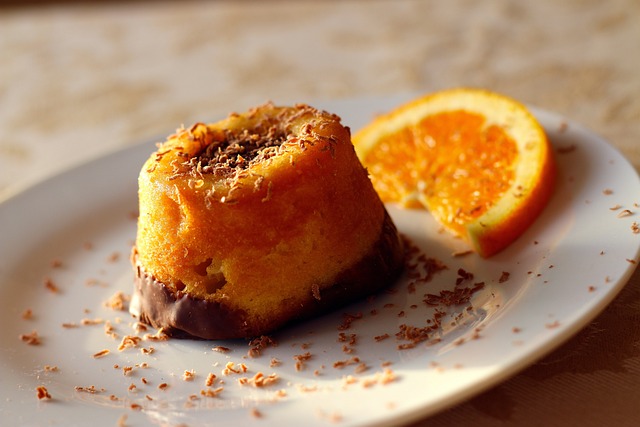
2. Add some orange flavour to your baking recipes e.g cakes or cookies.
3. Some orangecello added to your salad dressings will make it something different and special.
6. Turn up the volume of a neutral dessert and drizzle over ice cream or sorbet.
7. Add sparkling water or tonic water for a refreshing drink.
8. Use your homemade orange liqueur in place of other liquors in mixed drinks.
9. This liqueur makes for a much-appreciated edible gift.
This liqueur recipe is perfect for adding a little sunshine to your day. Whether you drink it straight up or mix it into your favourite cocktail, this versatile liqueur is sure to please. So grab some oranges and get started – your friends and family will thank you. Give it a try – this may become your signature creation.
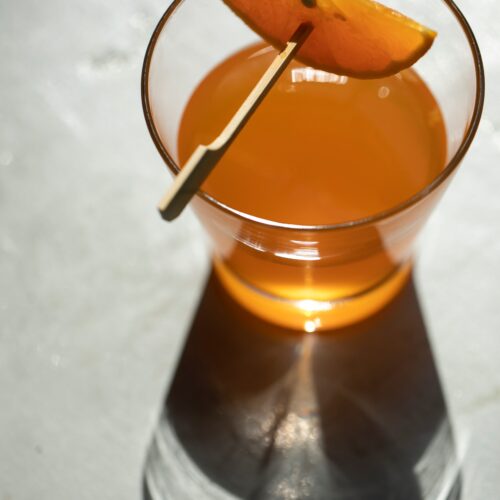
Orange Liqueur Recipe
Equipment
- Kitchen scales
- Chopping board and knife
- Vegetable peeler
- Clean sterilised wide-necked jar with lid/stopper
- Fine mesh strainer or funnel lined with muslin
- Clean sterilised bottles with lids
- Labels and pen
Ingredients
- 30 g fresh orange peel 1/2cup, unpacked from 2 medium-large oranges
- 5 g tangerine/grapefruit peel 1tbsp
- 2½ cups vodka
- 1 cup sugar
Instructions
- Wash the oranges, and another citrus of your choice, and let them sit in the colander to drain off any excess water.
- Using a vegetable peeler, remove the peel from the oranges, trying to keep the long strips mainly orange and with minimal white pith.
- Add the vodka and strips of fresh peels to the sterilised wide-necked jar.
- Seal the jar and give it a good shake.
- Store the jar in a cool dark place to let the mixture infuse for a minimum of 2 weeks up to 4 weeks. Shake the jar every 2-3 days.
- When you have passed the 2 weeks and just want to get on with it, start to make the simple syrup.
- Add the water to a medium saucepan.
- Bring the heat up to medium and then add the sugar. Make sure to stir the mixture until the sugar is completely dissolved and the syrup is clear.
- Turn up the heat until the sugar water starts to boil and then turn it down to a simmer for 5 minutes.
- Remove the syrup from the heat and set aside to let it cool completely.
- Using either a fine-mesh strainer or a double layer of muslin lining a funnel, strain the orange peels from the vodka.
- While the peels are being strained, rinse out the jar so that you can use it to mix the vodka and syrup as follows: return the strained vodka to the jar and add 3/4 cup of the simple syrup to it. Seal the jar and shake well for 30 seconds. Then you get to the good part – taste the liqueur to check the sweetness and to decide whether or how much more syrup you want to add.
- Once you are happy with the flavour, transfer the orange liqueur to a bottle or jar with a tight-fitting lid.
- To ensure the best flavour and quality, your homemade orange liqueur should be consumed within 6-12 months of preparation. Additionally, it's essential to store this delicious concoction away from heat sources and direct light for optimal preservation. Although refrigeration is not required, you may want to give it a shake before using it. To ensure the best quality and taste experience, discard any liqueur that has formed crystals or developed odd flavours, then set about making some more!
- As for those strained peels – do NOT just throw them away! You can chop them up and add them to a fruit salad, sprinkle them over ice cream, garnish a chocolate mousse or bake them into a lovely cake or muffins. Store in a sealable container in the fridge for a couple of days if you need to. This reduces waste and gives you some bonus deliciousness.
Notes
TIPS for making homemade orange liqueur
1. It can be made with either fresh oranges or dried orange peel. If using fresh oranges, try to use ones that are organic and pesticide-free. Choose oranges that are ripe and juicy for the best results. 2. It’s important to use reasonable quality alcohol for making this liqueur, whether it is vodka, rum, or brandy. Avoid using too cheap alcohol, as its harsh notes will affect the flavour of the liqueur. 3. There are versions of this recipe where you can just slice the oranges and steep them in the alcohol, drain them after 2 weeks, add the sugar syrup and voila. Another juices the oranges and adds the juice to the alcohol, with or without the zest/peel. So many different approaches out there. 4. When storing orange liqueur, be sure to keep it in a cool, dark place. And enjoy it within 6 months for the best flavour! 5. To get a smooth, clear liqueur, strain the mixture through a fine-mesh strainer or muslin before bottling it. 6. If you struggle to find a wide neck jar, you could use a clean, sterilised glass bowl, and cover it tightly with cling film and a tea towel over it. Stir the mixture instead of shaking – replace the plastic wrap if needed to maintain the seal. 7. And finally, don’t forget to enjoy your orangecello responsibly! It is a delicious and potent liqueur, after all.Customizing the orange liqueur
1. Add some grapefruit peel or dried orange peel to the recipe for a stronger orange flavour. 2. Steep spices such as cinnamon, cloves, star anise or vanilla in the liqueur for added flavour. Add the spices towards the end of the steeping period e.g. after a 2-week maturation, add your chosen spice and allow to steep for an extra day. Do not use too much spice. You do not want the spice to overpower or compete with the orange flavour which is the star here. A hint of spice is what makes it interesting. 3. Add a complimentary herb e.g. rosemary, mint, thyme for a unique flavouring. Add the herbs towards the end of the steeping period e.g. after a 2-week maturation, add your chosen herb and allow to steep for an extra day. Do not use too large an amount of herbs. You do not want the herbs to overpower or compete with the orange flavour which is the star here. The hint of herb flavour added to the orange is what makes it interesting. 4. Replace one of the cups of vodka with a cup of brandy to make your own version of a Grand Marnier type of orange liqueur. 5. Allow the liqueur to age for a few weeks or months to allow the flavours to blend and deepen.A few suggestions for using your orange liqueur
1. In cocktails like a Margarita or Cuba Libre. Sip in straight up over ice to dilute some of the sweetness, or warm in front of a fire in winter. 2. Add some orange flavour to your baking recipes e.g cakes or cookies. 3. Some orangecello added to your salad dressings will make it something different and special. 6. Turn up the volume of a neutral dessert and drizzle over ice cream or sorbet. 7. Add sparkling water or tonic water for a refreshing drink. 8. Use your homemade orange liqueur in place of other liquors in mixed drinks. 9. This liqueur makes for a much-appreciated edible gift.Nutrition
Nutritional Disclaimer
All nutritional information is an estimate only, based on third-party calculations derived from an online nutritional calculator, Spoonacular API. The data provided is a courtesy and should not be considered a guarantee or fact. Each recipe and nutritional value will vary depending on the ingredients and brands you use, your measuring methods and portion sizes. For accurate results, we recommend that you calculate the nutritional information yourself, using a preferred nutritional calculator or advice from a nutritionist, based on your ingredients and individual processes.