Are you the proud owner of a jam-making kit or have recently decided to take up preserving fruits and vegetables for the first time? If so, then sterilising jars and bottles are an essential part of making sure your preserves stay safe and delicious.
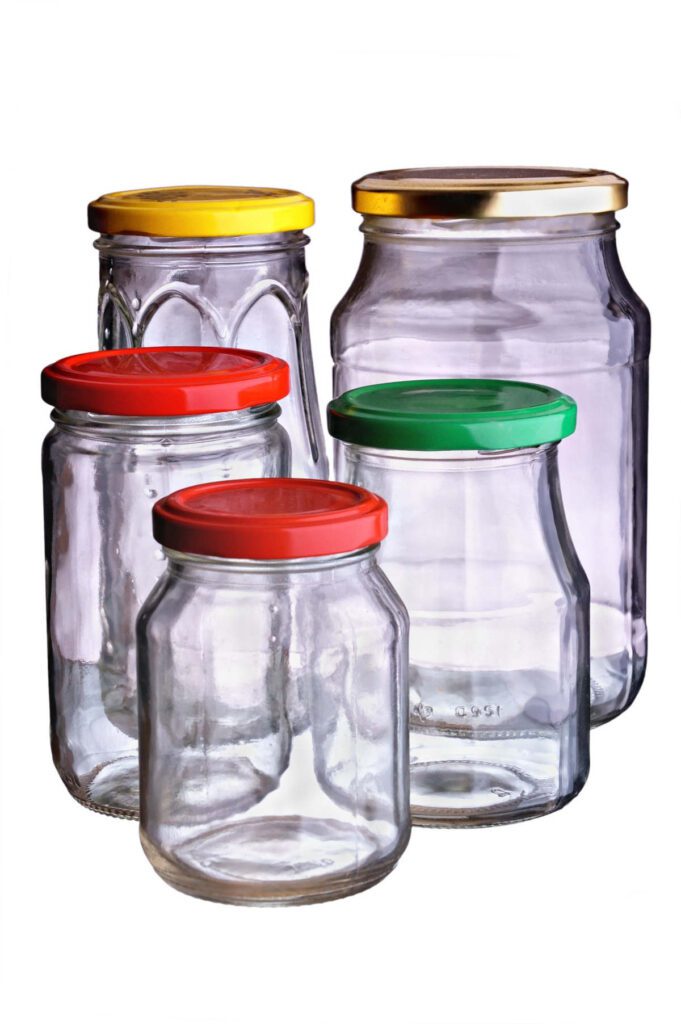
Read further to explore your options for carrying out this essential step to safe and hygienic food preservation.
Why sterilise?
When preserving food, it is essential to start with food hygiene practices. This includes sterilising jars, bottles and lids. Sterilising before preserving is a simple but critical step used widely by food manufacturers and home cooks to reduce the risk of food spoilage and its consequences.
The process of sterilising is directed at limiting and destroying microbial activity from the environment and on surfaces, which can ultimately result in food-borne illness. It not only kills microorganisms but also reduces the presence of moulds, yeasts and bacteria that may eventually spoil food too, and cause food waste and potentially serious ill-health.
So it is important to adequately prepare food storage containers before you make any preserves. With proper food hygiene practices, you are one step closer to producing delicious and safer preserves!
Inspect your jars and bottles
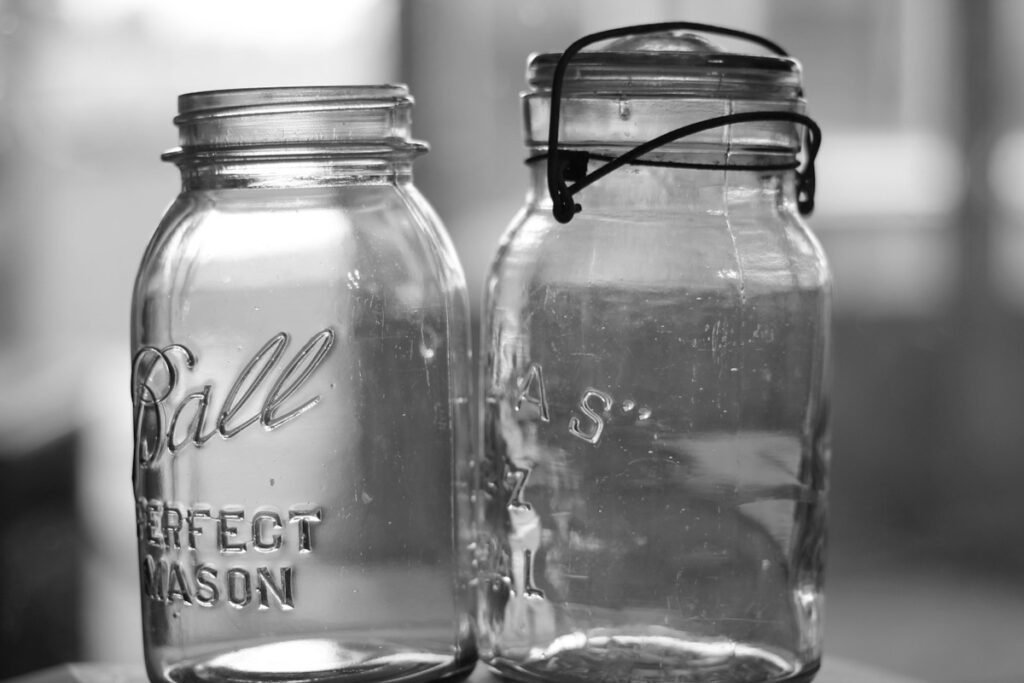
Carefully inspect all jars and bottles for any visible flaws like cracks, breaks, or chips. If you happen to find a damaged jar or bottle, you must discard them immediately.
New jars also need to be sterilised. After washing sterilize them as you would any of the glass jars and bottles you intend to use.
To ensure your delectable homemade meals don’t spoil too early, be sure to always sterilize the jars first.
Do not forget about the lids!
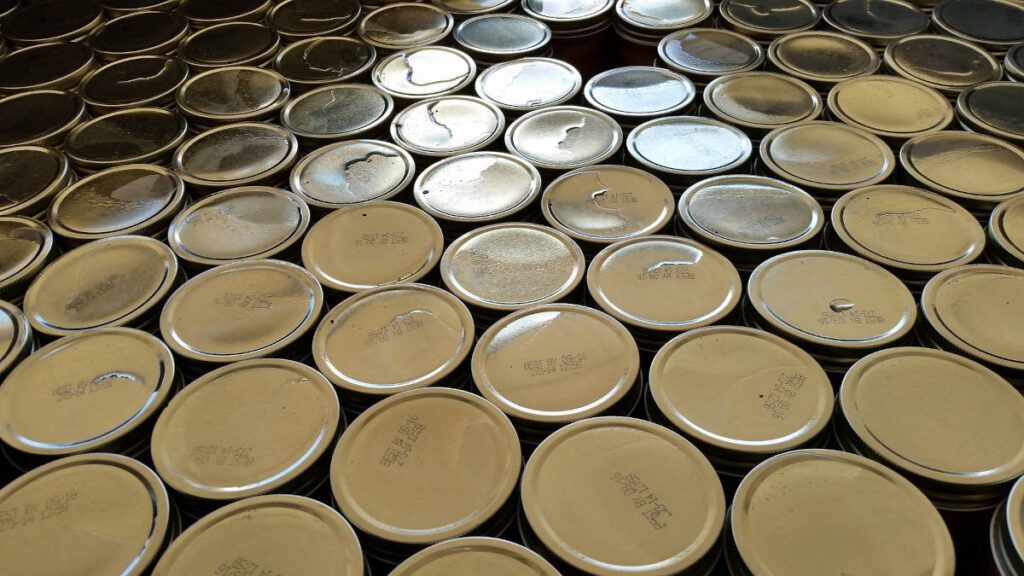
Proper food hygiene involves more than just sterilising the jars themselves; it also includes ensuring that you clean and sterilise the lids, too.
While this is also directed at dealing with any potentially harmful microorganisms, it is also an opportunity for you to check the condition of the lids. This can include inspecting them for rust, distortion or worn seals.
To sterilise the washed lids effectively, it is recommended that they are heated for at least 20 minutes before being placed on top of the jar or bottle, thereby assuring their proper effectiveness.
**Important**
- Remove lids and seals ahead of sterilising glass jars and bottles.
- Do NOT put the lids in the oven or the microwave.
By properly following these food hygiene precautions and taking the time to sterilise both jars and lids when creating preserves, you will ensure your food’s quality and safety so everyone can enjoy them.
Ways to sterilise your jars and lids
1. Boiling Jars and Bottles
Also known as the waterbath method. You place the jars in a pot and fill them and the pot with cold water. (Note: Avoid placing jars in boiling water to prevent the possibility of explosions and shards of glass flying everywhere.). Ideally, the jars should rest on a trivet in the saucepan.
Bring the water to a rolling boil for 10 minutes. Then turn off the heat and set aside – the jars will keep warm until you are ready to use them. Be careful!!
As you carefully grab the jars, seals and lids with your tongs, lift them out of the boiling water. Place these on a clean tea towel to let them air dry. You have now successfully sterilized your containers so they are good to go!
2. Using a Dishwasher
If you can adjust temperature settings on your dishwasher or own a steam model, the dishwasher technique is an excellent method of sterilizing jars.
After you have washed and cleaned the jars or bottles, place them on the top rack of your dishwasher. Run a hot cycle to sterilize them without adding any cleaning blocks or solutions. To make sure that your containers are ready for filling when you’re done, time it so that the dishwasher finishes at the same moment as when you need to fill the jars.
3. Hot Oven Method
This method takes slightly longer than the other ways but can be done while you are cooking your preserves.
Preheat oven to 160°C / 320°F (or 140°C / 285°F if using fan-assisted). Place the washed and drip-dried glass containers on an oven tray lined with baking paper or foil. Make sure that the jars are not touching one another.
Heat for 20 minutes then leave in the closed oven until you need them. This will keep them warm enough for filling when ready to use.
Donning a pair of thick oven mitts, carefully take each jar from the oven onto an insulated mat thick tea towel. Doing this while your jam is still steaming hot will ensure that you get the best possible results when filling.
4. Microwave Sterilising
While this method of sterilizing is ideal for regular jam jars, do NOT use it for Kilner-style jars or metal lids.
For sparkling clean jars, make sure to give them a good wash and then rinse them off. Once they’ve been rinsed, leave the water on them just slightly before popping the jar into your microwave at its highest setting. Depending on their size, keep microwaving for between 30-45 seconds until you have crystal clear jars!
5. Sterilising Lids
It’s important to sterilise the lids as well as the jars or bottles, so place the lids in a bowl and cover them with boiling water. Leave for 10 minutes then remove carefully using tongs or heat-proof gloves.
6. Electric sterilising machines
Electric bottle and jar sterilisers are programmable machines which can take a variety of different shapes, sizes, and capacities of items all at once. They can produce completely sterile, safe containers ready for food storage or preservation.
These should be used by the manufacturer’s instructions to ensure optimal results. Using an electric sterilising machine can be a great way to ensure they are properly and fully sterilised.
While this method is quick and convenient, there are a few drawbacks to consider. The machine can run up a significant electricity bill over time, and its size may also take up considerable counter space in the kitchen. It is also a more expensive option and so probably only worth considering if you plan to make regular large batches of preserves.
7. Chemical sterilising solutions
Some home cooks turn to chemical sterilising cleaning products as an easy option. While this can be effective, there are also some downsides to consider.
Chemical residues can remain on food contact surfaces and certain chemicals may be corrosive to the lids over time.
Final Tips
Preparing:
- Sterilizing is a straightforward, essential process, thus it should be done without fail. Do NOT try to cut corners with this step. You will risk ruining all your tasty creations and potentially making yourself and your loved ones unwell.
- Safety is paramount when dealing with hot jars and lids, so always make sure you’re using the right tools such as jam jar tongs or oven gloves.
- Dispose of any damaged or rusty jam jar lids, as they won’t make a secure seal and could be hazardous.
- To ensure that you have enough containers for all of your preserves, it is a wise decision to sterilize one or two extra jars beyond what you believe you’ll require. It’s too late to quickly sterilise more when you find yourself with more preserves than you bargained for!
Cleaning and Sterilizing:
- To ensure you’re prepared for canning, take your jars and lids and wash them in hot soapy water. Don’t bother drying them off; instead, simply leave the wet items upside down on a roasting tray to air dry.
- To ensure the jars, bottles and lids or seals remain warm for filling, you must sterilise them just before when you are ready to use them. It’s no good doing this hours or the day before! You could keep them warm in the oven (pre-heated to 160ºC) for a short while ahead of using them. As your preserve starts to near completion (approximately 20 minutes until finished), it’s advisable to begin gathering and preparing the jars for storage.
Using:
- After sterilizing, it is crucial to ensure both the jars and food are at the same temperature so that your containers don’t crack when adding items.
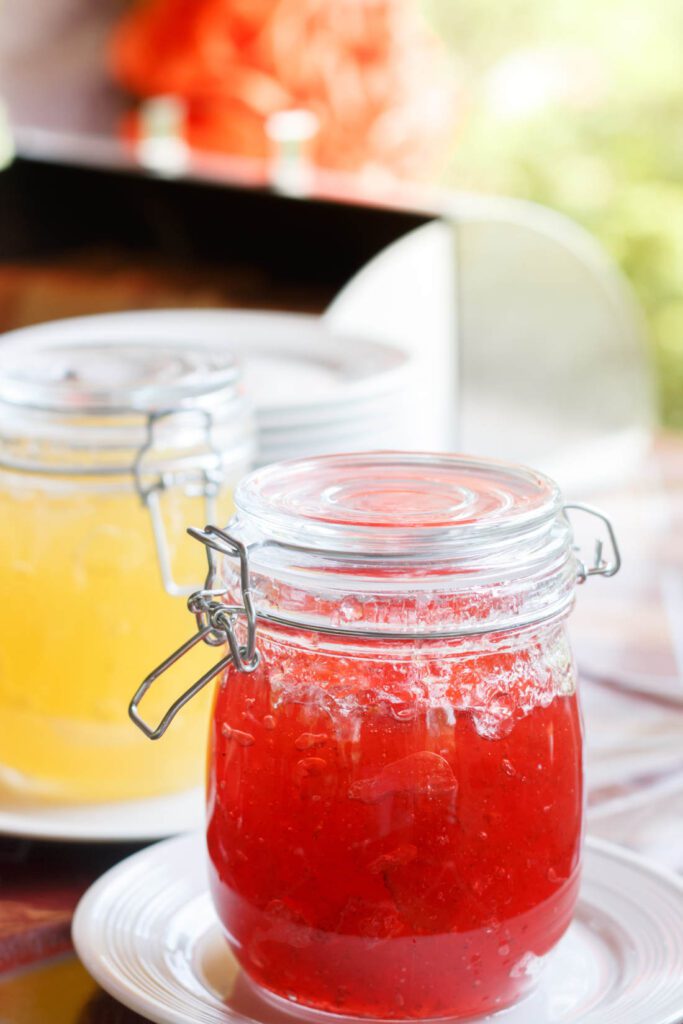
- Ladle the hot preserve into a heatproof jug to make it easier to transfer the mixture into the hot jars. Use a jam funnel to limit spillage. Be very careful not to touch the hot jars during this process.
- You should fill the jars to nearly full capacity, leaving a 1/2 cm (1/4 inch) of headspace at the top. This will ensure that your preserves and lids are sealed well.
- After storing your preserves in sterile jars, such as these, they could retain their freshness for about six months when stored in a dark and cool area. You should, however, check the recipe you are using for more accurate shelf-life predictions since some recipes yield longer-lasting results than others.
Sterilising glass jars and bottles before making home preserves is an important part of the process, as it ensures that what you’re eating is safe and delicious. Not only does this prevent any potential contamination of your preserves, but it can also create a better result in terms of flavour and texture of your preserve.
Taking time to properly sterilise glass jars and bottles will ensure that your homemade preserves give you the pleasure you are aiming for when you create them.